JAX 和 DALI 入门#
本教程演示如何将 DALI 与 JAX 结合使用。您将学习如何将 DALI 用作 JAX 工作流程的数据源,如何使用 GPU 加速数据预处理,以及如何使用多 GPU 扩展训练。
先决条件#
本教程假设您已经安装了带有 GPU 支持的 DALI 和 JAX。如果您尚未这样做,请按照 DALI 安装指南 和 JAX 安装指南 进行操作。
此示例中使用的测试数据可以在 DALI Github 页面 中找到。
[1]:
image_dir = "../../data/images"
快速入门#
以下代码是一个简单且可复制的示例,说明如何将 DALI 与 JAX 一起使用。以下部分将逐步介绍其工作原理。
[2]:
import nvidia.dali.fn as fn
from nvidia.dali.plugin.jax import data_iterator


@data_iterator(output_map=["images", "labels"], reader_name="image_reader")
def iterator_fn():
    jpegs, labels = fn.readers.file(file_root=image_dir, name="image_reader")
    images = fn.decoders.image(jpegs, device="mixed")
    images = fn.resize(images, resize_x=256, resize_y=256)
    return images, labels


iterator = iterator_fn(batch_size=8)

batch = next(iterator)  # batch of data ready to be used by JAX
使用 JAX 运行 DALI#
在 DALI 中,您需要习惯的主要概念是 Pipeline。它是一个操作图,相对于主 Python 线程异步执行。Pipeline 在 Python 中定义,但执行在 C++ 中完成,这使其快速高效。定义为 Pipeline 部分的计算可以在 CPU 或 GPU 上执行。
我们首先定义一个 pipeline 函数。在这里,我们声明操作图的外观。在这个起始示例中,我们使用来自 nvidia.dali.fn 模块的操作。此模块包含 DALI 中所有可用的基本操作
[3]:
import nvidia.dali.fn as fn


def simple_pipeline():
    jpegs, labels = fn.readers.file(file_root=image_dir, name="image_reader")
    images = fn.decoders.image(jpegs)
    images = fn.resize(images, resize_x=256, resize_y=256)

    return images, labels
此函数定义以下预处理 pipeline
从存储读取原始 JPEG 和标签
将 JPEG 解码为 RGB 格式
将解码后的图像调整大小为 256x256
即使它非常简单,它也可以很好地近似于许多计算机视觉任务中使用的常用预处理 pipeline。唯一的区别是我们在这里不应用任何增强。我们将在以下部分之一介绍如何应用增强。
上面我们定义了操作图。现在我们需要在 JAX 上下文中运行它。DALI 提供了易于使用的装饰器来转换 pipeline 定义函数。
[4]:
from nvidia.dali.plugin.jax import data_iterator
此装饰器可用于创建将生成与 JAX 兼容的数据迭代器的函数。装饰器接受参数来控制最终的迭代器。现在我们将重点关注
要转换的 pipeline 函数,
output_map- 将在 JAX 中使用的输出名称列表,reader_name- 将用于从存储读取数据的读取器操作符的名称。
[5]:
iterator_fn = data_iterator(
    simple_pipeline, output_map=["images", "labels"], reader_name="image_reader"
)
请注意,reader_name 值与 pipeline 函数中用于 fn.readers.file 操作符的 name 值相同。它告诉迭代器哪个操作符用于从存储读取数据,并且应该查询数据集中样本的数量。
iterator_fn 是一个将生成数据迭代器的函数。它可用于创建多个迭代器,这些迭代器将迭代同一数据集。当您想要为训练和验证 pipeline 重用一些代码时,这非常有用。应用装饰器会向函数添加一些额外的参数。其中之一是 batch_size,用于控制迭代器生成的每批数据中的样本数
[6]:
iterator = iterator_fn(batch_size=1)
我们可以使用迭代器来获取数据。迭代器返回一个字典,其键在 output_map 参数中定义。这些值是 JAX 数组。
[7]:
output = next(iterator)

print(output.keys())

print(type(output["images"]))
print(output["images"].shape)

print(type(output["labels"]))
print(output["labels"].shape)
dict_keys(['images', 'labels'])
<class 'jaxlib.xla_extension.ArrayImpl'>
(1, 256, 256, 3)
<class 'jaxlib.xla_extension.ArrayImpl'>
(1, 1)
为了可视化输出,我们创建了一个简单的函数,使用 matplotlib 打印图像
[8]:
import matplotlib.pyplot as plt


def show_image(image):
    plt.imshow(image)
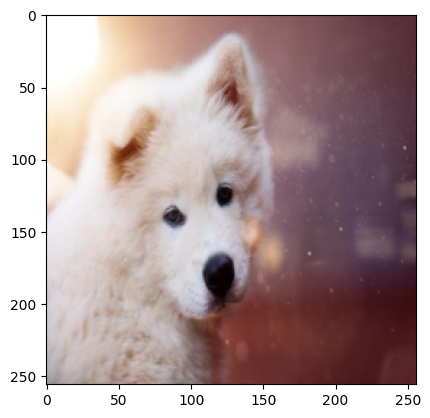
我们现在可以使用它来检查输出的内容
[9]:
image = output["images"]
show_image(image[0])

print(f'Label = {output["labels"][0]}')
Label = [0]
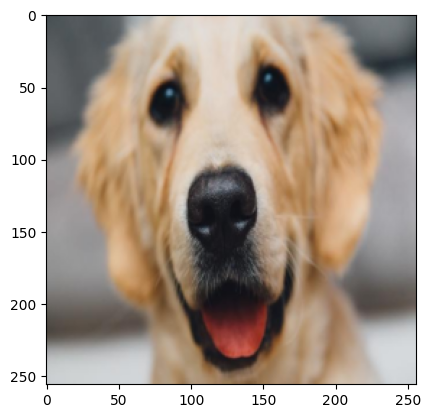
我们可以继续运行迭代器并获取下一批
[10]:
output = next(iterator)

image = output["images"]
show_image(image[0])

print(f'Label = {output["labels"][0]}')
Label = [0]
请注意,data_iterator 也可以声明式地使用。由于这是表达同一件事的更简洁方式,我们将在以下部分中使用它
[11]:
@data_iterator(output_map=["images", "labels"], reader_name="image_reader")
def iterator_fn():
    jpegs, labels = fn.readers.file(file_root=image_dir, name="image_reader")
    images = fn.decoders.image(jpegs)
    images = fn.resize(images, resize_x=256, resize_y=256)

    return images, labels


iterator = iterator_fn(batch_size=1)
迭代器与 Python __iter__ 协议兼容。它可以在 for 循环中或与 next 函数一起使用。它也与 len 函数兼容。len 返回数据集中的批次数。
[12]:
iterator = iterator_fn(batch_size=1)
print(f"Iterator size: {len(iterator)}")

for batch_id, batch in enumerate(iterator):
    print(batch_id)
Iterator size: 21
0
1
2
3
4
5
6
7
8
9
10
11
12
13
14
15
16
17
18
19
20
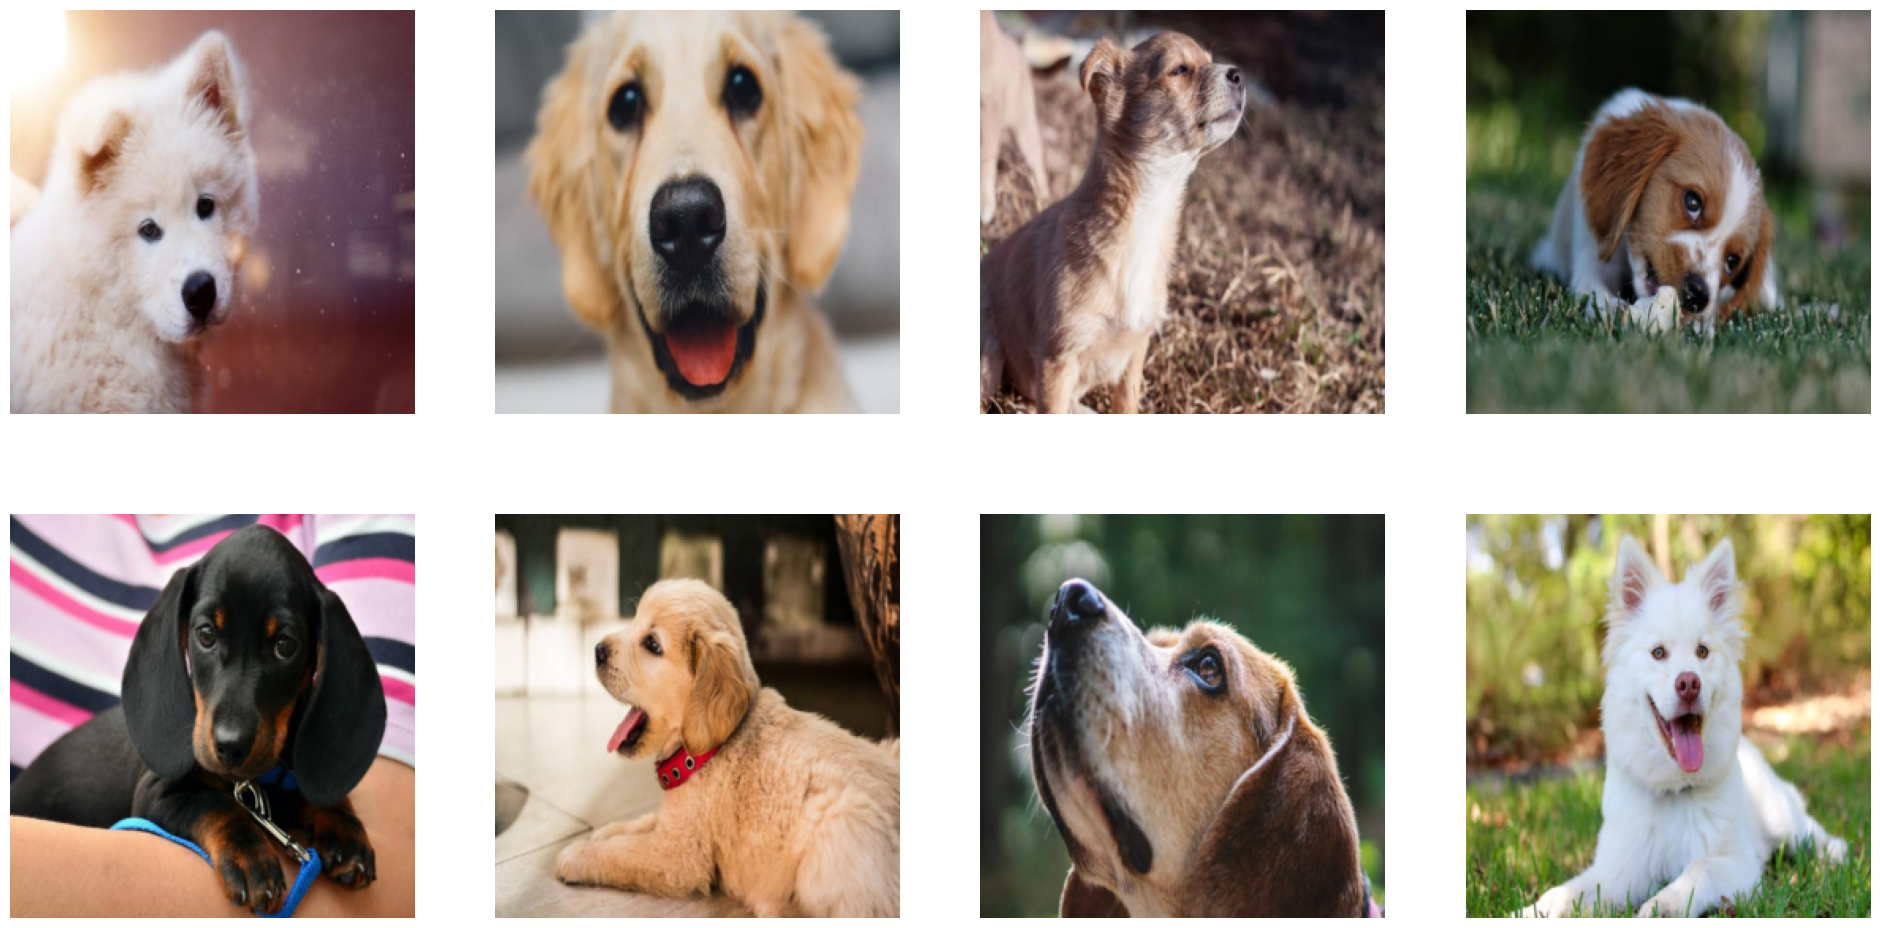
批处理#
现在,我们每次迭代或 next 调用仅返回一个样本。请注意,返回的数组具有大小为 1 的前导维度。这是因为迭代器返回一批数据。批次的大小由 iterator_fn 函数的 batch_size 参数控制。
我们可以使用相同的函数来创建一个迭代器,该迭代器返回包含多个样本的数据批次。
[13]:
iterator = iterator_fn(batch_size=8)
[14]:
batch = next(iterator)

print(type(batch["images"]))
print(batch["images"].shape)

print(type(batch["labels"]))
print(batch["labels"].shape)
<class 'jaxlib.xla_extension.ArrayImpl'>
(8, 256, 256, 3)
<class 'jaxlib.xla_extension.ArrayImpl'>
(8, 1)
我们可以调整 show_image 函数以绘制整个批次
[15]:
from matplotlib import gridspec


def show_image(images):
    columns = 4
    rows = (images.shape[0] + 1) // (columns)
    plt.figure(figsize=(24, (24 // columns) * rows))
    gs = gridspec.GridSpec(rows, columns)
    for j in range(rows * columns):
        plt.subplot(gs[j])
        plt.axis("off")
        plt.imshow(images[j])
[16]:
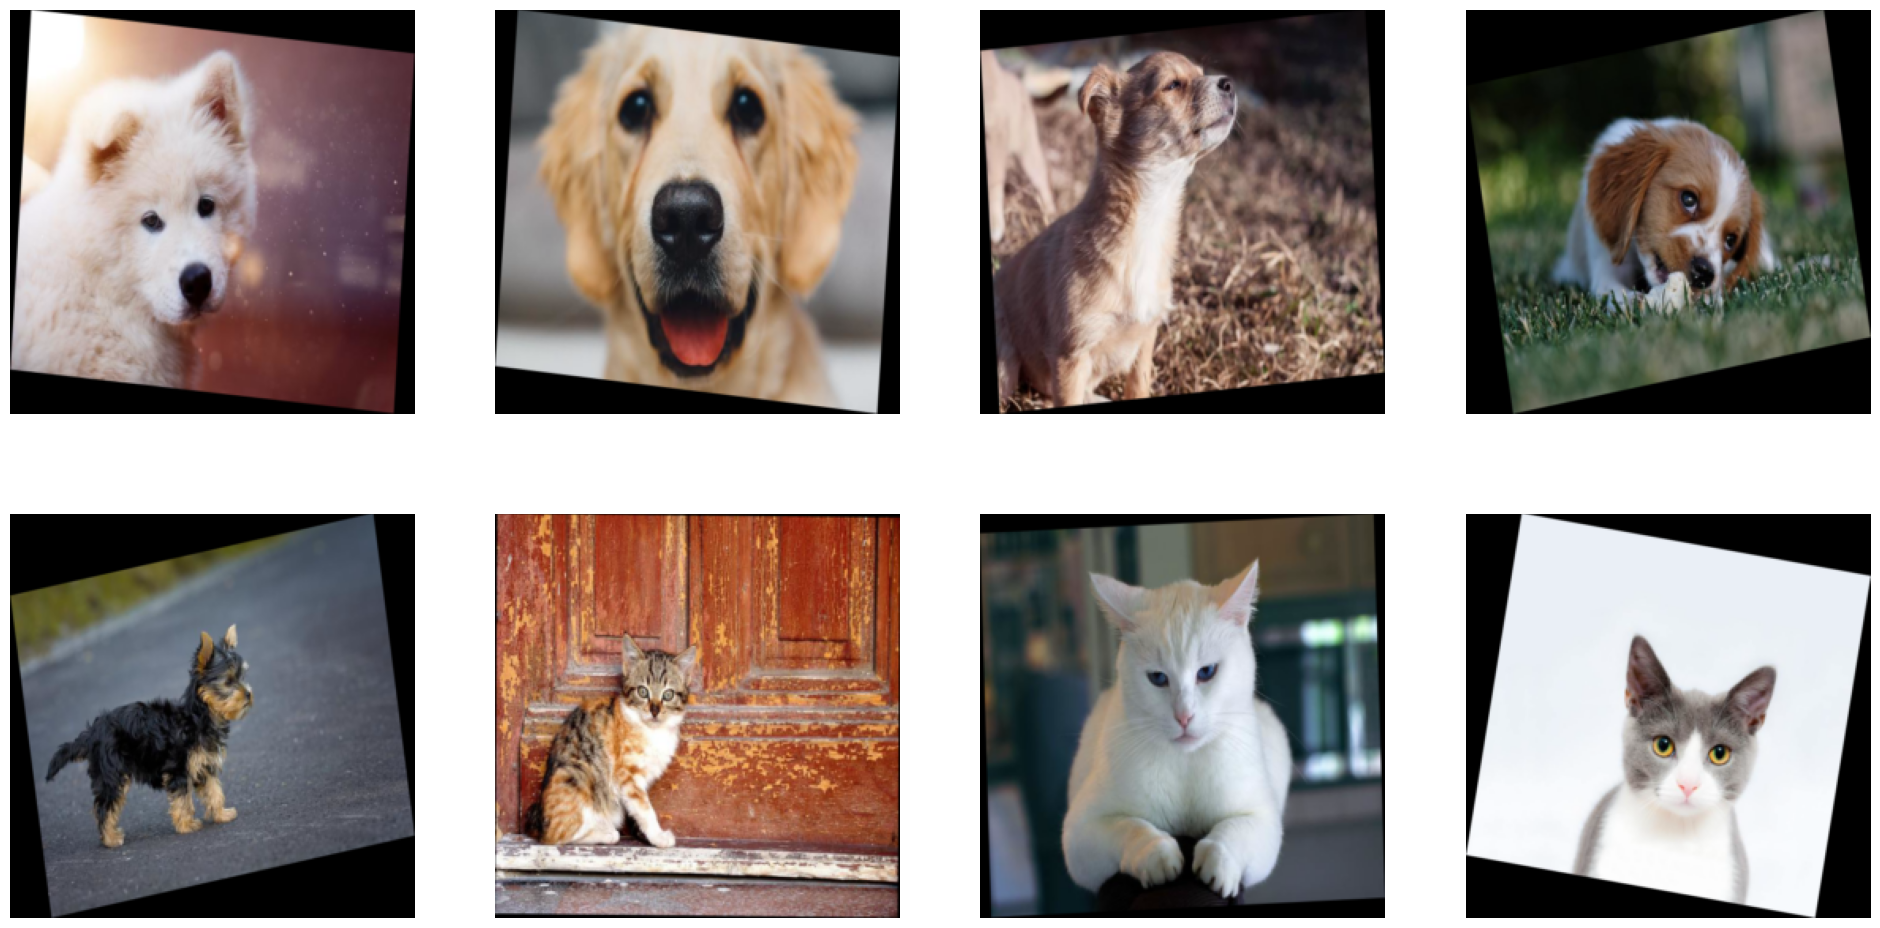
show_image(batch["images"])
GPU 加速#
目前,即使我们传递了 device_id=0,预处理也仅使用 CPU。请注意输出 JAX 数组的后端
[17]:
print(f'Images backing device: {batch["images"].device()}')
Images backing device: TFRT_CPU_0
DALI 提供的主要功能之一是在 GPU 上运行预处理的能力。对于我们的简单示例,让我们在 GPU 上运行图像大小调整。执行此操作所需的唯一更改是将解码后的图像移动到 GPU。我们可以使用 gpu 方法来完成此操作。Resize 将识别出其输入在 GPU 上,并且也将在 GPU 上执行操作。
[18]:
@data_iterator(output_map=["images", "labels"], reader_name="image_reader")
def iterator_fn():
    jpegs, labels = fn.readers.file(file_root=image_dir, name="image_reader")
    images = fn.decoders.image(jpegs)
    images = images.gpu()
    images = fn.resize(images, resize_x=256, resize_y=256)
    return images, labels


iterator = iterator_fn(batch_size=8)
我们看到 images 现在由 GPU 支持。
如前所述,用 data_iterator 装饰函数会向其添加一些参数。我们已经讨论过 batch_size。另一个是 device_id。它用于控制将使用哪个 GPU 来执行计算。我们可以使用它在另一个 GPU 上运行整个 pipeline,如下所示
[19]:
iterator = iterator_fn(batch_size=1, device_id=1)

batch = next(iterator)
print(f'Images backing device: {batch["images"].device()}')
Images backing device: cuda:1
请注意输出的后备设备如何更改为设备 ID 等于 1 的 GPU。
硬件加速解码#
DALI 的另一个重要功能是能够通过使用 nvJPEG 和 nvJPEG2000 库来 GPU 加速 JPEG 解码。当您有大量需要解码的高分辨率图像时,这尤其有用。nvJPEG 和 nvJPEG2000 旨在利用 GPU 硬件加速解码器来消除此瓶颈。要了解有关它们的更多信息,您可以查看 此开发者页面。
并非 JPEG 解码过程的所有方面都非常适合通过使用 GPU 进行并行化。CPU 负责处理解码的顺序部分。要利用这种混合方法,您可以在 fn.decoders.image 操作符中将 mixed 设置为 device 参数值。
更改此设置后,解码后的输出由 GPU 支持,因此不再需要手动将其移动到 GPU。更新后的代码如下所示
[20]:
@data_iterator(output_map=["images", "labels"], reader_name="image_reader")
def iterator_fn():
    jpegs, labels = fn.readers.file(file_root=image_dir, name="image_reader")
    images = fn.decoders.image(jpegs, device="mixed")
    images = fn.resize(images, resize_x=256, resize_y=256)
    return images, labels


iterator = iterator_fn(batch_size=8)
[21]:
batch = next(iterator)

print(f'Images backing device: {batch["images"].device()}')
print(f'Labels backing device: {batch["labels"].device()}')
Images backing device: cuda:0
Labels backing device: TFRT_CPU_0
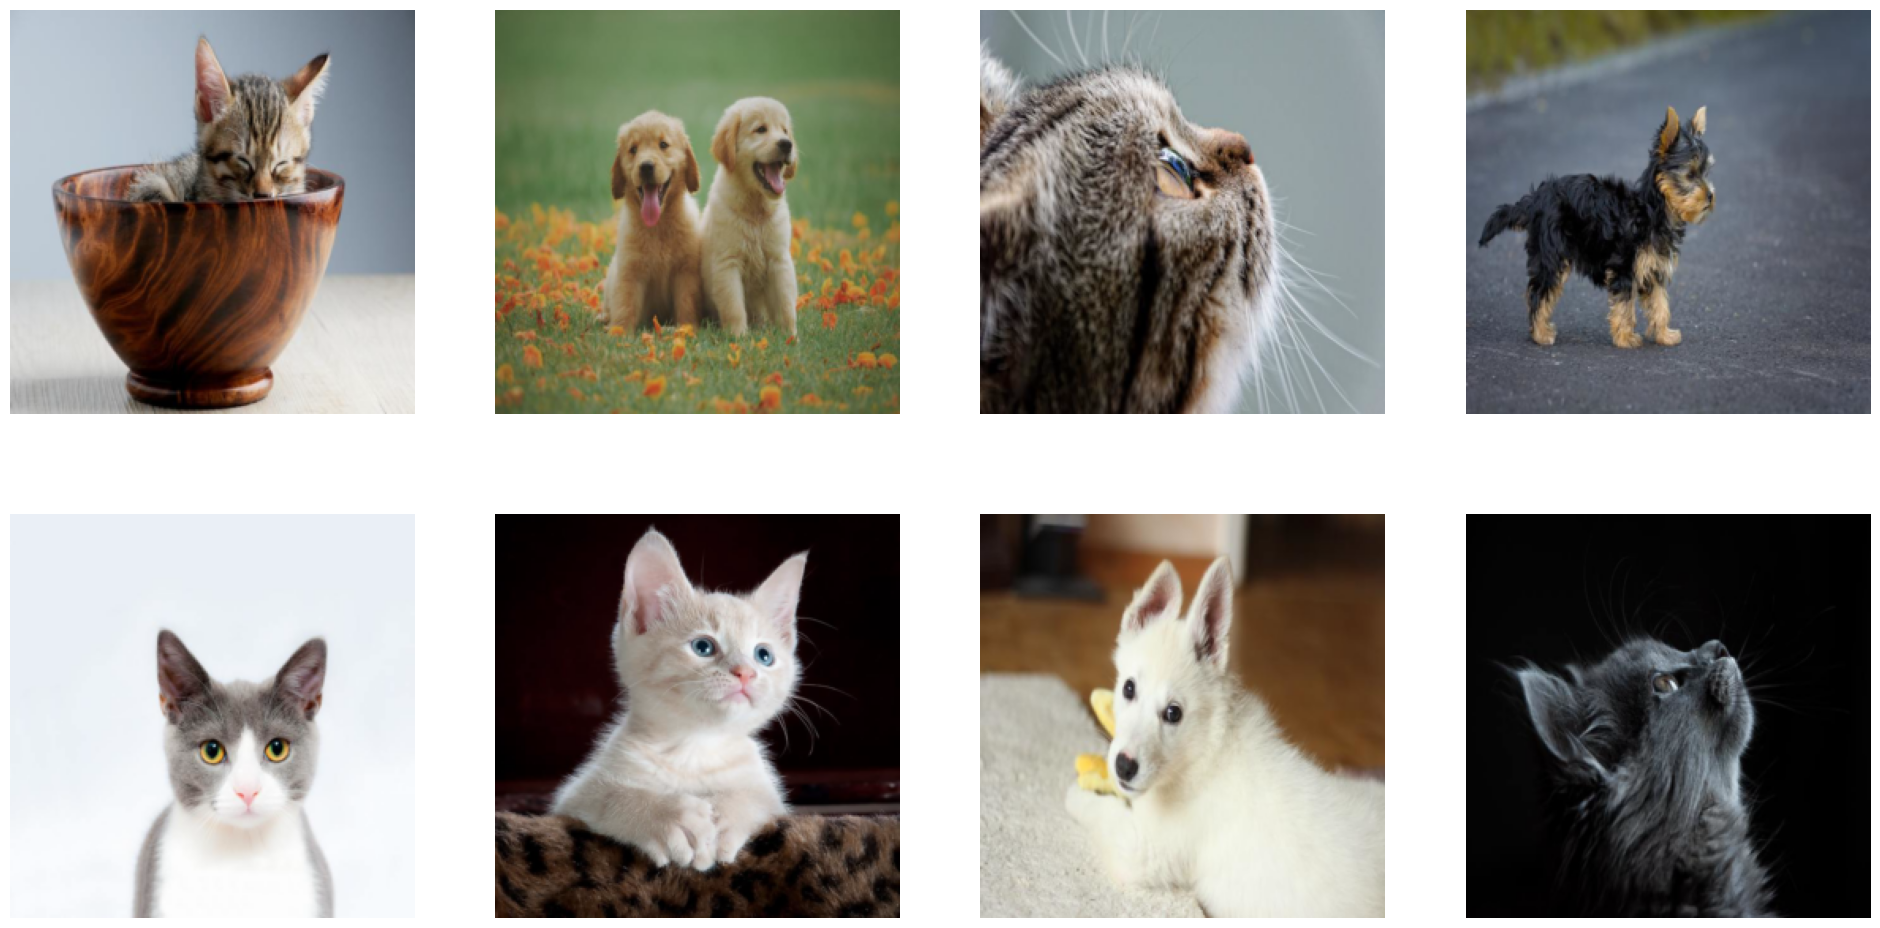
随机打乱#
训练中需要的步骤之一是打乱数据。DALI 提供了一种有效执行此操作的方法。我们可以使用读取器的 random_shuffle 参数来执行此操作。该参数采用布尔值。如果设置为 True,则数据将随机打乱。如果设置为 False,则数据将按照从存储读取的顺序返回。为了确保结果的可重复性,我们还可以将 seed 参数设置为固定值
[22]:
@data_iterator(output_map=["images", "labels"], reader_name="image_reader")
def iterator_fn():
    jpegs, labels = fn.readers.file(
        file_root=image_dir, name="image_reader", random_shuffle=True
    )
    images = fn.decoders.image(jpegs, device="mixed")
    images = fn.resize(images, resize_x=256, resize_y=256)
    return images, labels


iterator = iterator_fn(batch_size=8, seed=0)

batch = next(iterator)
show_image(batch["images"])
增强#
DALI 提供了广泛的增强功能,可用于提高训练数据的质量。要了解有关它们的更多信息,您可以查看 DALI 文档。在本节中,我们将介绍如何在 JAX 工作流程中使用它们。对于这个简单的示例,我们希望对图像应用随机旋转。我们希望将图像旋转一个范围在 [-10, 10] 范围内的随机角度。为此,我们将使用 fn.random.uniform 生成随机角度,并使用 fn.deformations.rotate 执行旋转。
[23]:
@data_iterator(output_map=["images", "labels"], reader_name="image_reader")
def iterator_fn():
    jpegs, labels = fn.readers.file(
        file_root=image_dir, name="image_reader", random_shuffle=True
    )
    images = fn.decoders.image(jpegs, device="mixed")
    angle = fn.random.uniform(range=(-10.0, 10.0))
    images = fn.rotate(images, angle=angle, fill_value=0)
    images = fn.resize(images, resize_x=256, resize_y=256)
    return images, labels


iterator = iterator_fn(batch_size=8, seed=0)

batch = next(iterator)
show_image(batch["images"])

多个 GPU#
JAX 的优势之一是能够非常轻松地将训练扩展到多个 GPU。DALI 也提供了一种简单的方法来实现这一点,该方法与 JAX 扩展机制兼容。data_iterator 装饰器接受 sharding 参数。我们可以传递与 JAX 中用于扩展其他计算的值相同的值。
假设在 JAX 工作流程中,我们希望跨多个 GPU 沿批次维度并行化计算。实现此目的的一种方法是使用 NamedSharding。这是一种表达分片模式的简单方法。它将维度名称映射到将用于沿此维度执行计算的设备列表。在我们的例子中,我们希望沿我们命名为“batch”的维度进行分片,以传达它所代表的含义。我们希望使用所有可用的 GPU 来沿此维度执行计算。我们可以使用 jax.local_devices() 来获取可用设备列表。代码如下所示
[24]:
import jax
from jax.sharding import Mesh, PartitionSpec, NamedSharding

mesh = Mesh(jax.devices(), axis_names=("batch"))
sharding = NamedSharding(mesh, PartitionSpec("batch"))

print(sharding)
NamedSharding(mesh=Mesh('batch': 2), spec=PartitionSpec('batch',))
我们希望 DALI 迭代器返回与此分片模式兼容的输出。我们可以通过将 sharding 参数传递给 data_iterator 装饰器来做到这一点。
装饰函数中需要进行的一项修改是引入 num_shards 和 shard_id 参数。它们可用于将有关分片的信息传递给读取器。它将仅读取分配给当前分片的数据集部分。要了解有关 DALI 分片机制的更多信息,请查看 DALI 分片文档。
[25]:
@data_iterator(output_map=["images", "labels"], reader_name="image_reader")
def iterator_fn(num_shards=1, shard_id=0):
    jpegs, labels = fn.readers.file(
        file_root=image_dir,
        name="image_reader",
        num_shards=num_shards,
        shard_id=shard_id,
    )
    images = fn.decoders.image(jpegs, device="mixed")
    angle = fn.random.uniform(range=(-10.0, 10.0))
    images = fn.rotate(images, angle=angle, fill_value=0)
    images = fn.resize(images, resize_x=256, resize_y=256)
    return images, labels.gpu()
上面设置的 num_shards 和 shard_id 的默认值与 fn.reader.file 中这些参数的默认值相同。在此配置中,没有分片 - 读取器将读取整个数据集,并且只有一个分片,其中 shard_id == 0。当我们将 sharding 传递给装饰器时,这些参数将自动设置为适当的值。
现在我们已准备好将 iterator_fn 扩展到多个 GPU。请注意向装饰器添加了 sharding 参数
[26]:
@data_iterator(
    output_map=["images", "labels"],
    reader_name="image_reader",
    sharding=sharding,
)
def iterator_fn(num_shards=1, shard_id=0):
    jpegs, labels = fn.readers.file(
        file_root=image_dir,
        name="image_reader",
        num_shards=num_shards,
        shard_id=shard_id,
    )
    images = fn.decoders.image(jpegs, device="mixed")
    angle = fn.random.uniform(range=(-10.0, 10.0))
    images = fn.rotate(images, angle=angle, fill_value=0)
    images = fn.resize(images, resize_x=256, resize_y=256)
    return images, labels.gpu()
在此设置中,我们希望将预处理计算分散到多个 GPU 上。我们不再需要传递 device_id。它会根据 sharding 自动设置。在运行时,我们将有多个 pipeline 实例在不同的 GPU 上运行。每个实例都将读取数据集的不同部分。迭代器将从所有 pipeline 获取输出,并将从中构建一个批次。批次将沿“batch”维度进行分片。分片模式将与 JAX 工作流程其余部分中使用的分片模式兼容。
[27]:
iterator = iterator_fn(batch_size=8)
[28]:
batch = next(iterator)
images = batch["images"]

print(f"Images shape: {images.shape}")
print(f"Images backing device: {images.devices()}")
print(f"Images sharding: {images.sharding}")
Images shape: (8, 256, 256, 3)
Images backing device: {cuda(id=0), cuda(id=1)}
Images sharding: NamedSharding(mesh=Mesh('batch': 2), spec=PartitionSpec('batch',))
我们可以使用 JAX 中的 visualise_array_sharding 来可视化数据如何在 GPU 之间分布。
[29]:
jax.debug.visualize_array_sharding(images.ravel())
GPU 0 GPU 1
我们可以进一步查看批次的内容,以了解数据如何在 GPU 之间分布。我们可以看到,批次的前半部分在第一个 GPU 上,后半部分在第二个 GPU 上
[30]:
print(
    f"Shard 0 device: {images.device_buffers[0].device()}, "
    f"shape: {images.device_buffers[0].shape}"
)
print(
    f"Shard 1 device: {images.device_buffers[1].device()}, "
    f"shape: {images.device_buffers[1].shape}"
)
Shard 0 device: cuda:0, shape: (4, 256, 256, 3)
Shard 1 device: cuda:1, shape: (4, 256, 256, 3)
即使数据分布在多个 GPU 上,我们仍然可以使用 show_image 函数来可视化它。它将自动从所有 GPU 收集数据
[31]:
show_image(batch["images"])
技术细节#
本节深入探讨本教程中使用的功能的 technical aspects,从而更全面地了解所使用的工具和概念。
num_threads 性能注意事项#
num_threads 是添加到用 data_iterator 装饰的函数的另一个参数。它用于控制将用于执行迭代器的 CPU 线程数。将其设置为正确的值对于获得最佳性能非常重要。最佳值取决于用例、批次大小和硬件配置。让我们看一下它如何影响迭代器的性能。
首先,我们创建一个函数,该函数运行迭代器固定次数的迭代。我们将使用它来基准测试迭代器在不同 num_threads 值下的性能
[32]:
def run_iterator(iterator, epoch_num=10):
    for epoch in range(epoch_num):
        for batch in iterator:
            pass
我们使用 num_threads=1 实例化迭代器并运行它
[33]:
iterator = iterator_fn(batch_size=64, num_threads=1)
[34]:
%%timeit

run_iterator(iterator)
188 ms ± 11.6 ms per loop (mean ± std. dev. of 7 runs, 1 loop each)
现在,我们可以针对不同的 num_threads 值运行基准测试
[35]:
iterator = iterator_fn(batch_size=64, num_threads=8)
[36]:
%%timeit

run_iterator(iterator)
89.3 ms ± 640 µs per loop (mean ± std. dev. of 7 runs, 10 loops each)
我们看到更改 num_threads 如何影响迭代器的性能。请注意,如果您在不同的机器上运行本教程,您可能会看到不同的结果。
为了获得最佳性能,需要针对特定用例微调 num_threads。最佳值取决于硬件配置和批次大小。
data_iterator 装饰器内部#
首先,让我们看一下迭代器的类型
[37]:
print(type(iterator))
<class 'nvidia.dali.plugin.jax.iterator.DALIGenericIterator'>
DALIGenericIterator 是一个高级接口,可简化 DALI pipeline 与机器学习框架的集成。它是 DALI pipeline 对象的包装器,与 JAX 兼容。DALI pipeline 和迭代器可以手动创建,而无需 data_iterator 装饰器。让我们回到原始 pipeline 定义。我们可以创建一个 pipeline 对象,稍后使用此对象创建迭代器
[38]:
from nvidia.dali.pipeline import pipeline_def


@pipeline_def
def simple_pipeline():
    jpegs, labels = fn.readers.file(file_root=image_dir, name="image_reader")
    images = fn.decoders.image(jpegs, device="mixed")
    images = fn.resize(images, resize_x=256, resize_y=256)
    return images, labels


pipeline = simple_pipeline(batch_size=8, num_threads=1, device_id=0)

print(type(pipeline))
<class 'nvidia.dali.pipeline.Pipeline'>
使用 pipeline 对象,我们创建一个迭代器
[39]:
from nvidia.dali.plugin.jax import DALIGenericIterator

iterator = DALIGenericIterator(
    pipeline, output_map=["images", "labels"], reader_name="image_reader"
)

print(type(iterator))
<class 'nvidia.dali.plugin.jax.iterator.DALIGenericIterator'>
以这种方式创建的迭代器与使用 data_iterator 装饰器创建的迭代器相同。我们可以使用它以相同的方式获取数据
[40]:
batch = next(iterator)

print(f'Images backing device: {batch["images"].device()}')
print(f'Labels backing device: {batch["labels"].device()}')
Images backing device: cuda:0
Labels backing device: TFRT_CPU_0
下一步去哪里#
恭喜,您学习了如何将 DALI 与 JAX 集成,以有效地处理和增强机器学习工作流程的数据。有了这个基础,您可以探索更高级的主题并进一步扩展您的知识
要继续学习有关 DALI 和 JAX 的知识,您可以访问 DALI 文档的相关部分。它包含有关 DALI 和 JAX 的更详细信息和端到端训练示例,包括来自 JAX 生态系统的库,如 Flax、T5X 和 Pax。
要了解有关 DALI 的更多信息,您可以访问 DALI 文档。它包含有关 DALI 所有功能的详细信息。
如果您对 DALI 有任何疑问,可以访问 DALI Github 页面 并创建一个 issue。我们很乐意收到您的来信。
如果您更喜欢视频内容,我们整理了一份关于 DALI 的视频资料列表。