图像解码器示例#
在本笔记本中,我们将展示不同类型的 decoders.image 的使用示例。您将看到,这些变体为 CPU 后端 (device="cpu") 和混合后端 (device="mixed" - 其中解码由 GPU 加速) 提供了相同的功能。
请注意,我们定义了所有示例以接受 device 参数,以便稍后可以轻松更改它。
通用代码#
首先,让我们定义一些通用函数,以便轻松显示图像。
[1]:
from nvidia.dali import pipeline_def
import nvidia.dali.fn as fn
import nvidia.dali.types as types
import matplotlib.gridspec as gridspec
import matplotlib.pyplot as plt
from nvidia.dali.backend import TensorListGPU

%matplotlib inline

seed = 1549361629


def show_images(image_batch):
    columns = 4
    rows = (batch_size + 1) // (columns)
    fig = plt.figure(figsize=(32, (32 // columns) * rows))
    gs = gridspec.GridSpec(rows, columns)
    for j in range(rows * columns):
        plt.subplot(gs[j])
        plt.axis("off")
        plt.imshow(image_batch.at(j))


image_dir = "../data/images"
batch_size = 4


def show_pipeline_output(pipeline):
    pipe.build()
    (images,) = pipe.run()
    if isinstance(images, TensorListGPU):
        images = images.as_cpu()
    show_images(images)
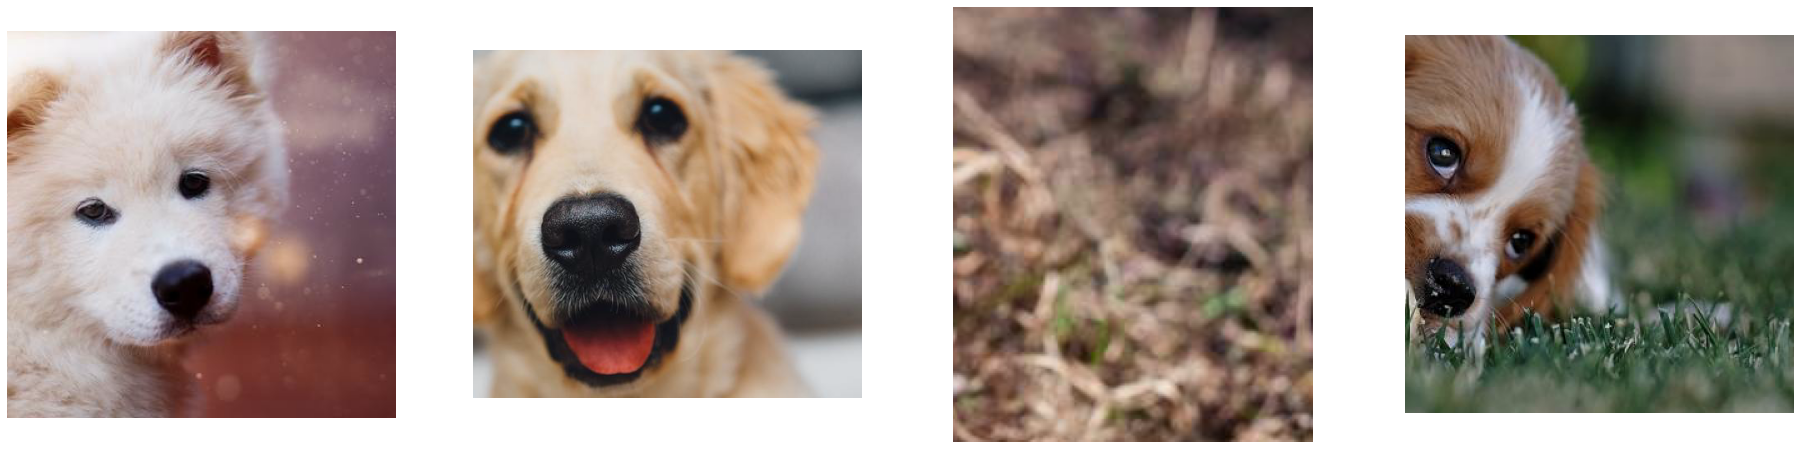
图像解码器 (CPU)#
decoders.image 解码以常用格式(包括 JPEG、JPEG2000、TIFF、PNG)存储的图像
[2]:
@pipeline_def(seed=seed)
def image_decoder_pipeline(device="cpu"):
    jpegs, labels = fn.readers.file(file_root=image_dir)
    return fn.decoders.image(jpegs, device=device)


pipe = image_decoder_pipeline(batch_size=batch_size, num_threads=1, device_id=0)
show_pipeline_output(pipe)

带有随机裁剪窗口大小和锚点的图像解码器 (CPU)#
decoders.image_random_crop 生成随机裁剪的图像。随机裁剪窗口基于给定的宽高比和面积分布生成。
[3]:
@pipeline_def(seed=seed)
def image_decoder_random_crop_pipeline(device="cpu"):
    jpegs, labels = fn.readers.file(file_root=image_dir)
    images = fn.decoders.image_random_crop(
        jpegs,
        random_aspect_ratio=[0.8, 1.25],
        random_area=[0.1, 1.0],
        num_attempts=100,
        device=device,
    )
    return images


pipe = image_decoder_random_crop_pipeline(
    batch_size=batch_size, num_threads=1, device_id=0
)
show_pipeline_output(pipe)

带有固定裁剪窗口大小和外部锚点的图像解码器#
decoders.image_crop 生成具有固定裁剪窗口大小和可变位置的裁剪图像
[4]:
@pipeline_def(seed=seed)
def image_decoder_crop_pipeline(device="cpu"):
    jpegs, labels = fn.readers.file(file_root=image_dir)
    pos_x = fn.random.uniform(range=(0.0, 1.0))
    pos_y = fn.random.uniform(range=(0.0, 1.0))
    return fn.decoders.image_crop(
        jpegs,
        crop=(244, 244),
        crop_pos_x=pos_x,
        crop_pos_y=pos_y,
        device=device,
    )


pipe = image_decoder_crop_pipeline(
    batch_size=batch_size, num_threads=1, device_id=0
)
show_pipeline_output(pipe)

带有外部窗口大小和锚点的图像解码器 (CPU)#
decoders.image_slice 基于描述裁剪窗口大小和位置的附加张量输入生成裁剪图像
[5]:
import numpy as np
from itertools import product

pos_source = [[0.4, 0.2], [0.3, 0.3]]
size_source = [[0.3, 0.5], [0.3, 0.2]]


def ext_source_generator():
    for pos, size in product(pos_source, size_source):
        yield np.array(pos, dtype=np.float32), np.array(size, dtype=np.float32)


@pipeline_def(seed=seed)
def image_decoder_slice_pipeline(device="cpu"):
    crop_pos, crop_size = fn.external_source(
        source=ext_source_generator,
        cycle=True,
        num_outputs=2,
        batch=False,
        dtype=types.FLOAT,
    )
    jpegs, labels = fn.readers.file(file_root=image_dir)
    return fn.decoders.image_slice(jpegs, crop_pos, crop_size, device=device)


pipe = image_decoder_slice_pipeline(
    batch_size=batch_size, num_threads=1, device_id=0
)
show_pipeline_output(pipe)

图像解码器 (混合)#
decoders.image 与混合后端将 JPEG 解码卸载到 GPU 或专用硬件单元(如果存在)。
请注意,我们重复上面显示的示例,仅更改 device 参数。操作符及其其他参数保持不变,并提供相同的功能 - 但现在我们使用 GPU 加速。
注意
如果您想知道为什么解码器使用
device="mixed"而不是device="gpu"- 这是因为它将 GPU 解码与将图像从 CPU 传输到 GPU 内存融合在一起。要了解有关 DALI 管道阶段的更多信息,请参阅管道文档部分。
[6]:
pipe = image_decoder_pipeline(
    batch_size=batch_size, num_threads=1, device_id=0, device="mixed"
)
pipe.build()
(images,) = pipe.run()
show_images(images.as_cpu())

带有随机裁剪窗口大小和锚点的图像解码器 (混合)#
decoders.image_random_crop 生成随机裁剪的图像。随机裁剪窗口基于给定的宽高比和面积分布生成。
[7]:
pipe = image_decoder_random_crop_pipeline(
    batch_size=batch_size, num_threads=1, device_id=0, device="mixed"
)
show_pipeline_output(pipe)
带有固定裁剪窗口大小和外部锚点的图像解码器 (混合)#
decoders.image_crop 生成具有固定裁剪窗口大小和可变位置的裁剪图像
[8]:
pipe = image_decoder_crop_pipeline(
    batch_size=batch_size, num_threads=1, device_id=0, device="mixed"
)
show_pipeline_output(pipe)

带有外部窗口大小和锚点的图像解码器 (混合)#
decoders.image_slice 基于描述裁剪窗口大小和位置的附加张量输入生成裁剪图像
[9]:
pipe = image_decoder_slice_pipeline(
    batch_size=batch_size, num_threads=1, device_id=0, device="mixed"
)
show_pipeline_output(pipe)
