操作符对象 (旧版)#
概述#
在介绍 fn API 和 pipeline_def 装饰器之前,DALI 使用了操作符对象 API。它更接近 DALI 的内部结构,但更难使用。由于您可能会找到一些用旧 API 编写的代码示例,因此此示例可以用作快速参考。它经历了与快速入门页面相同的步骤,但使用了旧版操作符对象 API。
定义 Pipeline#
让我们从定义一个非常简单的 pipeline 开始,用于分类任务,判断图片是否包含狗或猫。
我们准备了一个目录结构,其中包含狗和猫的图片
[1]:
import os.path
import fnmatch


for root, dir, files in os.walk("data/images"):
    depth = root.count("/")
    ret = ""
    if depth > 0:
        ret += "  " * (depth - 1) + "|-"
    print(ret + root)
    for items in fnmatch.filter(files, "*"):
        print(" " * len(ret) + "|-" + items)
|-data/images
  |-file_list.txt
  |-data/images/dog
    |-dog_4.jpg
    |-dog_5.jpg
    |-dog_9.jpg
    |-dog_6.jpg
    |-dog_3.jpg
    |-dog_7.jpg
    |-dog_10.jpg
    |-dog_2.jpg
    |-dog_8.jpg
    |-dog_1.jpg
    |-dog_11.jpg
  |-data/images/kitten
    |-cat_10.jpg
    |-cat_5.jpg
    |-cat_9.jpg
    |-cat_8.jpg
    |-cat_1.jpg
    |-cat_7.jpg
    |-cat_6.jpg
    |-cat_3.jpg
    |-cat_2.jpg
    |-cat_4.jpg
我们简单的 pipeline 将从该目录读取图像,解码它们并返回 (图像, 标签) 对。
[2]:
from nvidia.dali.pipeline import Pipeline
import nvidia.dali.ops as ops
import nvidia.dali.types as types

image_dir = "data/images"
max_batch_size = 8


class SimplePipeline(Pipeline):
    def __init__(self, max_batch_size, num_threads, device_id):
        super(SimplePipeline, self).__init__(
            max_batch_size, num_threads, device_id, seed=1234
        )
        self.input = ops.readers.File(file_root=image_dir)
        self.decode = ops.decoders.Image(device="cpu", output_type=types.RGB)

    def define_graph(self):
        jpegs, labels = self.input()
        images = self.decode(jpegs)
        return (images, labels)
SimplePipeline 类是 dali.pipeline.Pipeline 的子类,它提供了创建和启动 pipeline 的大多数方法。我们需要实现的唯二方法是构造函数和 define_graph 函数。
在构造函数中,我们首先调用超类构造函数,以设置 pipeline 的全局参数
批大小,
用于在 CPU 上执行计算的线程数,
要使用的 GPU 设备(
SimplePipeline尚未使用 GPU 进行计算)随机数生成的种子
在构造函数中,我们还将 SimplePipeline 类的成员变量定义为 dali.ops 模块中定义的操作
readers.File- 遍历目录并返回 (编码图像, 标签) 对decoders.Image- 接收编码图像输入并输出解码后的 RGB 图像
在 define_graph 函数中,我们定义计算的实际流程
jpegs, labels = self.input()
使用我们的 input 操作来创建 jpegs (编码图像) 和 labels。
images = self.decode(jpegs)
接下来,我们使用 decode 操作来创建 images (解码后的 RGB 图像)。
return (images, labels)
最后,我们指定哪些中间变量应作为 pipeline 的输出返回。
构建 Pipeline#
为了使用我们的 SimplePipeline,我们需要构建它。这通过调用 build 函数来实现。
[3]:
pipe = SimplePipeline(max_batch_size, 1, 0)
pipe.build()
运行 Pipeline#
构建 pipeline 后,我们可以运行它以获取一批结果。
[4]:
pipe_out = pipe.run()
print(pipe_out)
(TensorListCPU(
    [[[[255 255 255]
      [255 255 255]
      ...
      [ 86  46  55]
      [ 86  46  55]]

     [[255 255 255]
      [255 255 255]
      ...
      [ 86  46  55]
      [ 86  46  55]]

     ...

     [[158 145 154]
      [158 147 155]
      ...
      [ 93  38  41]
      [ 93  38  41]]

     [[157 145 155]
      [158 146 156]
      ...
      [ 93  38  41]
      [ 93  38  41]]]


    [[[ 69  77  80]
      [ 69  77  80]
      ...
      [ 97 105 108]
      [ 97 105 108]]

     [[ 69  77  80]
      [ 70  78  81]
      ...
      [ 97 105 108]
      [ 97 105 108]]

     ...

     [[199 203 206]
      [199 203 206]
      ...
      [206 210 213]
      [206 210 213]]

     [[199 203 206]
      [199 203 206]
      ...
      [206 210 213]
      [206 210 213]]]


    ...


    [[[ 26  28  25]
      [ 26  28  25]
      ...
      [ 34  39  33]
      [ 34  39  33]]

     [[ 26  28  25]
      [ 26  28  25]
      ...
      [ 34  39  33]
      [ 34  39  33]]

     ...

     [[ 35  46  30]
      [ 36  47  31]
      ...
      [114  99 106]
      [127 114 121]]

     [[ 35  46  30]
      [ 35  46  30]
      ...
      [107  92  99]
      [112  97 102]]]


    [[[182 185 132]
      [180 183 128]
      ...
      [ 98 103   9]
      [ 97 102   8]]

     [[180 183 130]
      [179 182 127]
      ...
      [ 93  98   4]
      [ 91  96   2]]

     ...

     [[ 69 111  71]
      [ 68 111  66]
      ...
      [147 159 121]
      [148 163 124]]

     [[ 64 109  68]
      [ 64 110  64]
      ...
      [113 123  88]
      [104 116  80]]]],
    dtype=DALIDataType.UINT8,
    layout="HWC",
    num_samples=8,
    shape=[(427, 640, 3),
           (427, 640, 3),
           (425, 640, 3),
           (480, 640, 3),
           (485, 640, 3),
           (427, 640, 3),
           (409, 640, 3),
           (427, 640, 3)]), TensorListCPU(
    [[0]
     [0]
     [0]
     [0]
     [0]
     [0]
     [0]
     [0]],
    dtype=DALIDataType.INT32,
    num_samples=8,
    shape=[(1,), (1,), (1,), (1,), (1,), (1,), (1,), (1,)]))
pipeline 的输出,我们将其保存到 pipe_out 变量中,是一个包含 2 个元素的元组(正如预期的那样 - 我们在 SimplePipeline 类中的 define_graph 函数中指定了 2 个输出)。这两个元素都是 TensorListCPU 对象 - 每个对象都包含 CPU 张量列表。
为了显示结果(仅用于调试目的 - 在实际训练期间我们不会执行此步骤,因为它会使我们的图像批次从 GPU 往返到 CPU 再返回),我们可以将我们的数据从 DALI 的 Tensor 发送到 NumPy 数组。并非每个 TensorList 都可以通过这种方式访问 - TensorList 比 NumPy 数组更通用,可以容纳具有不同形状的张量。为了检查我们是否可以直接将其发送到 NumPy,我们可以调用 TensorList 的 is_dense_tensor 函数
[5]:
images, labels = pipe_out
print("Images is_dense_tensor: " + str(images.is_dense_tensor()))
print("Labels is_dense_tensor: " + str(labels.is_dense_tensor()))
Images is_dense_tensor: False
Labels is_dense_tensor: True
事实证明,包含标签的 TensorList 可以用张量表示,而包含图像的 TensorList 则不能。
让我们看看返回标签的形状和内容。
[6]:
print(labels)
TensorListCPU(
    [[0]
     [0]
     [0]
     [0]
     [0]
     [0]
     [0]
     [0]],
    dtype=DALIDataType.INT32,
    num_samples=8,
    shape=[(1,), (1,), (1,), (1,), (1,), (1,), (1,), (1,)])
为了查看图像,我们需要循环遍历 TensorList 中包含的所有张量,使用其 at 方法访问。
[7]:
import matplotlib.gridspec as gridspec
import matplotlib.pyplot as plt

%matplotlib inline


def show_images(image_batch):
    columns = 4
    rows = (max_batch_size + 1) // (columns)
    fig = plt.figure(figsize=(24, (24 // columns) * rows))
    gs = gridspec.GridSpec(rows, columns)
    for j in range(rows * columns):
        plt.subplot(gs[j])
        plt.axis("off")
        plt.imshow(image_batch.at(j))
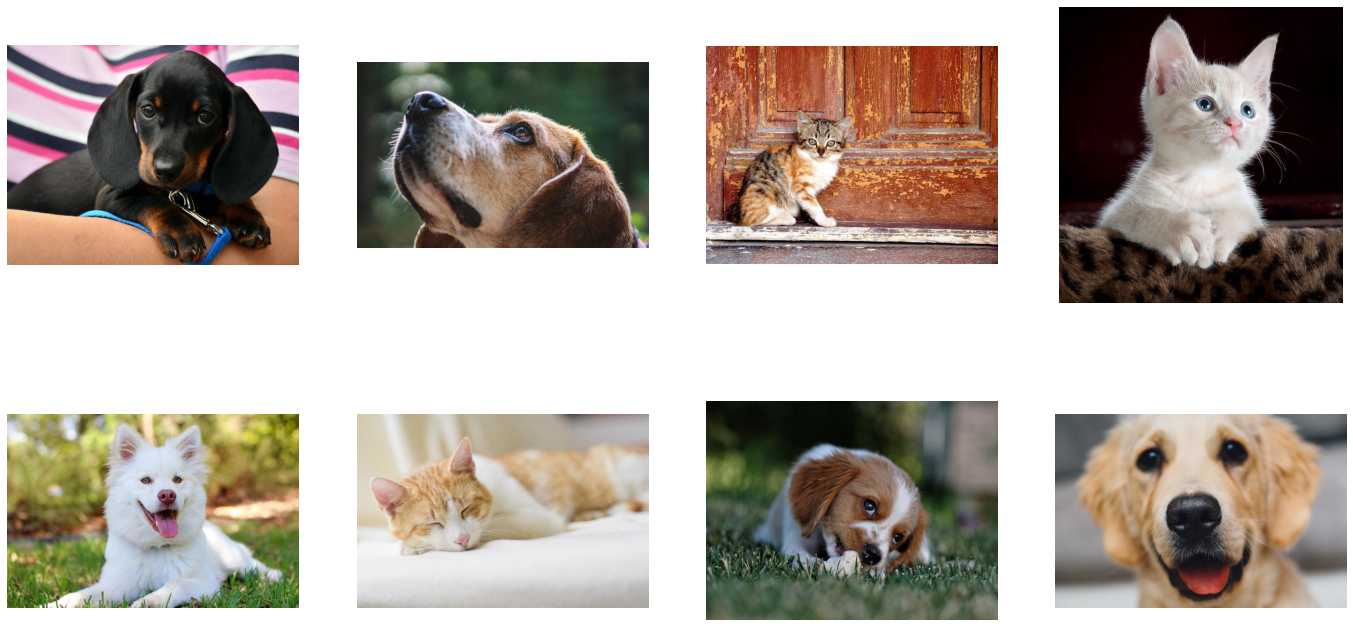
[8]:
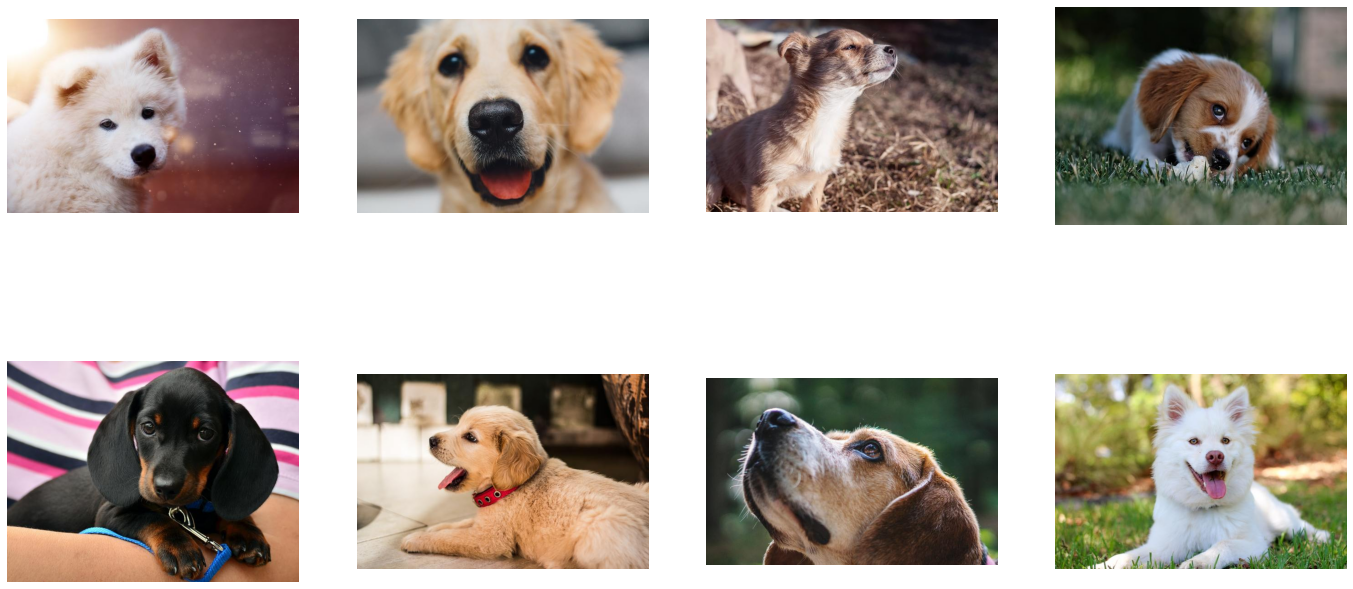
show_images(images)
添加增强#
随机打乱#
正如我们从上面的示例中看到的,我们的 pipeline 返回的第一批图像仅包含狗。那是因为我们没有打乱数据集,因此 FileReader 按照它在遍历目录结构时遇到的顺序返回图像。
让我们创建一个新的 pipeline,它将改变这一点。
[9]:
class ShuffledSimplePipeline(Pipeline):
    def __init__(self, max_batch_size, num_threads, device_id):
        super(ShuffledSimplePipeline, self).__init__(
            max_batch_size, num_threads, device_id, seed=1234
        )
        self.input = ops.readers.File(
            file_root=image_dir, random_shuffle=True, initial_fill=21
        )
        self.decode = ops.decoders.Image(device="cpu", output_type=types.RGB)

    def define_graph(self):
        jpegs, labels = self.input()
        images = self.decode(jpegs)
        return (images, labels)
我们对 SimplePipeline 进行了 2 处更改以获得 ShuffledSimplePipeline - 我们向 FileReader 操作添加了 2 个参数
random_shuffle启用读取器中图像的随机打乱。打乱是通过使用从磁盘读取的图像缓冲区来执行的。当要求读取器提供下一张图像时,它会从缓冲区中随机选择一张图像,输出它,并立即用新读取的图像替换缓冲区中的该位置。initial_fill设置缓冲区的容量。此参数的默认值 (1000) 非常适合包含数千个示例的数据集,对于我们非常小的数据集来说太大了,该数据集仅包含 21 张图像。这可能会导致返回的批次中频繁出现重复项。这就是为什么在本例中我们将其设置为数据集的大小。
让我们测试一下此修改的结果。
[10]:
pipe = ShuffledSimplePipeline(max_batch_size, 1, 0)
pipe.build()
[11]:
pipe_out = pipe.run()
images, labels = pipe_out
show_images(images)
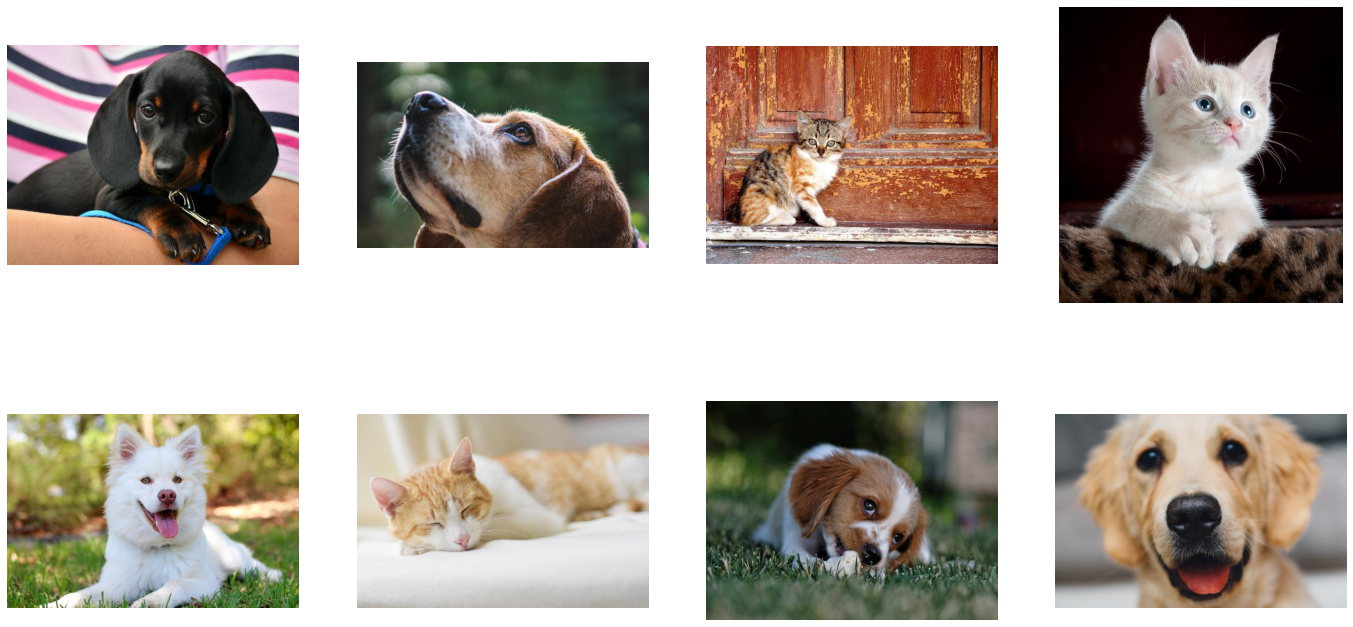
现在,pipeline 返回的图像被正确地打乱了。
增强#
DALI 不仅可以从磁盘读取图像并将它们批量处理为张量,还可以对这些图像执行各种增强操作,以改善深度学习训练结果。
这种增强的一个例子是旋转。让我们创建一个新的 pipeline,它在输出图像之前旋转它们。
[12]:
class RotatedSimplePipeline(Pipeline):
    def __init__(self, max_batch_size, num_threads, device_id):
        super(RotatedSimplePipeline, self).__init__(
            max_batch_size, num_threads, device_id, seed=1234
        )
        self.input = ops.readers.File(
            file_root=image_dir, random_shuffle=True, initial_fill=21
        )
        self.decode = ops.decoders.Image(device="cpu", output_type=types.RGB)
        self.rotate = ops.Rotate(angle=10.0, fill_value=0)

    def define_graph(self):
        jpegs, labels = self.input()
        images = self.decode(jpegs)
        rotated_images = self.rotate(images)
        return (rotated_images, labels)
为此,我们在 pipeline 中添加了一个新操作:dali.ops.Rotate。要获取有关 DALI 提供的任何操作的必需参数和可选参数的信息,我们可以使用 help 函数。
[13]:
help(ops.Rotate)
Help on class Rotate in module nvidia.dali.ops:

class Rotate(builtins.object)
 |  Rotate(**kwargs)
 |
 |  Rotates the images by the specified angle.
 |
 |  This operator supports volumetric data.
 |
 |  Supported backends
 |   * 'cpu'
 |   * 'gpu'
 |
 |
 |  Keyword args
 |  ------------
 |  angle : float or TensorList of float
 |      Angle, in degrees, by which the image is rotated.
 |
 |      For two-dimensional data, the rotation is counter-clockwise, assuming the top-left corner is
 |      at ``(0,0)``. For three-dimensional data, the ``angle`` is a positive rotation around the provided
 |      axis.
 |  axis : float or list of float or TensorList of float, optional, default = `[]`
 |      Applies **only** to three-dimension and is the axis
 |      around which to rotate the image.
 |
 |      The vector does not need to be normalized, but it must have a non-zero length.
 |      Reversing the vector is equivalent to changing the sign of ``angle``.
 |
 |  bytes_per_sample_hint : int or list of int, optional, default = `[0]`
 |      Output size hint, in bytes per sample.
 |
 |      If specified, the operator's outputs residing in GPU or page-locked host memory will be preallocated
 |      to accommodate a batch of samples of this size.
 |  dtype : nvidia.dali.types.DALIDataType, optional, default = `DALIDataType.NO_TYPE`
 |      Output data type.
 |
 |      If not set, the input type is used.
 |  fill_value : nvidia.dali.types.DALIDataType, optional, default = `DALIDataType.FLOAT`
 |      Value used to fill areas that are outside the source image.
 |
 |      If a value is not specified, the source coordinates are clamped and the border pixel is
 |      repeated.
 |  interp_type : nvidia.dali.types.DALIInterpType, optional, default = `DALIInterpType.INTERP_LINEAR`
 |      Type of interpolation used.
 |  keep_size : bool, optional, default = `False`
 |      If True, original canvas size is kept.
 |
 |      If set to False (default), and the size is not set, the canvas size is adjusted to
 |      accommodate the rotated image with the least padding possible.
 |
 |  preserve : bool, optional, default = `False`
 |      Prevents the operator from being removed from the
 |      graph even if its outputs are not used.
 |  seed : int, optional, default = `-1`
 |      Random seed.
 |
 |      If not provided, it will be populated based on the global seed of the pipeline.
 |  size : float or list of float or TensorList of float, optional, default = `[]`
 |      Output size, in pixels/points.
 |
 |      Non-integer sizes are rounded to nearest integer. The channel dimension should
 |      be excluded (for example, for RGB images, specify ``(480,640)``, not ``(480,640,3)``.
 |
 |  output_dtype : nvidia.dali.types.DALIDataType
 |      .. warning::
 |
 |          The argument ``output_dtype`` is a deprecated alias for ``dtype``. Use ``dtype`` instead.
 |
 |  Methods defined here:
 |
 |  __call__(self, *inputs, **kwargs)
 |      __call__(data, **kwargs)
 |
 |      Operator call to be used in graph definition.
 |
 |      Args
 |      ----
 |      data : TensorList ('HWC', 'DHWC')
 |          Input to the operator.
 |
 |  __init__(self, **kwargs)
 |
 |  ----------------------------------------------------------------------
 |  Readonly properties defined here:
 |
 |  device
 |
 |  preserve
 |
 |  schema
 |
 |  spec
 |
 |  ----------------------------------------------------------------------
 |  Data descriptors defined here:
 |
 |  __dict__
 |      dictionary for instance variables (if defined)
 |
 |  __weakref__
 |      list of weak references to the object (if defined)
 |
 |  ----------------------------------------------------------------------
 |  Data and other attributes defined here:
 |
 |  schema_name = 'Rotate'
正如我们所看到的,Rotate 可以接受多个参数,但只有一个参数 angle 是必需的 - 它告诉操作符应该将图像旋转多少度。
让我们测试一下新创建的 pipeline
[14]:
pipe = RotatedSimplePipeline(max_batch_size, 1, 0)
pipe.build()
[15]:
pipe_out = pipe.run()
images, labels = pipe_out
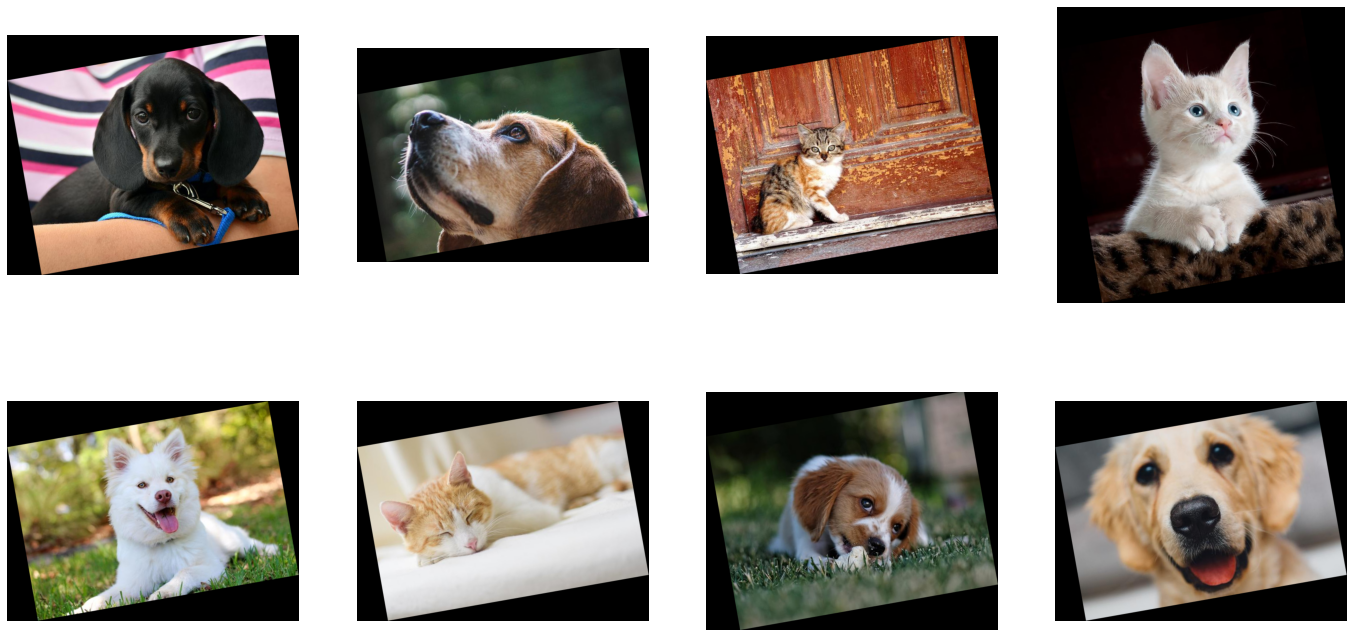
show_images(images)
张量作为参数和随机数生成#
将每张图像旋转 10 度并没有那么有趣。为了进行有意义的增强,我们希望有一个操作符可以将我们的图像在给定范围内随机角度旋转。
Rotate 操作的 help 输出告诉我们,angle 参数可以接受 float 或 float tensor 类型的数值。第二个选项 float tensor 使我们能够通过其他操作生成的张量,为每个图像提供不同的旋转角度来馈送操作符。
随机数生成器是可以与 DALI 一起使用的操作示例。让我们使用 dali.ops.random.Uniform 创建一个 pipeline,该 pipeline 将图像按随机角度旋转。
[16]:
class RandomRotatedSimplePipeline(Pipeline):
    def __init__(self, max_batch_size, num_threads, device_id):
        super(RandomRotatedSimplePipeline, self).__init__(
            max_batch_size, num_threads, device_id, seed=1234
        )
        self.input = ops.readers.File(
            file_root=image_dir, random_shuffle=True, initial_fill=21
        )
        self.decode = ops.decoders.Image(device="cpu", output_type=types.RGB)
        self.rotate = ops.Rotate(fill_value=0)
        self.rng = ops.random.Uniform(range=(-10.0, 10.0))

    def define_graph(self):
        jpegs, labels = self.input()
        images = self.decode(jpegs)
        angle = self.rng()
        rotated_images = self.rotate(images, angle=angle)
        return (rotated_images, labels)
这次,我们没有在构造函数中为 angle 参数提供固定值,而是将其设置为 dali.ops.random.Uniform 操作符的输出。
让我们检查一下结果
[17]:
pipe = RandomRotatedSimplePipeline(max_batch_size, 1, 0)
pipe.build()
[18]:
pipe_out = pipe.run()
images, labels = pipe_out
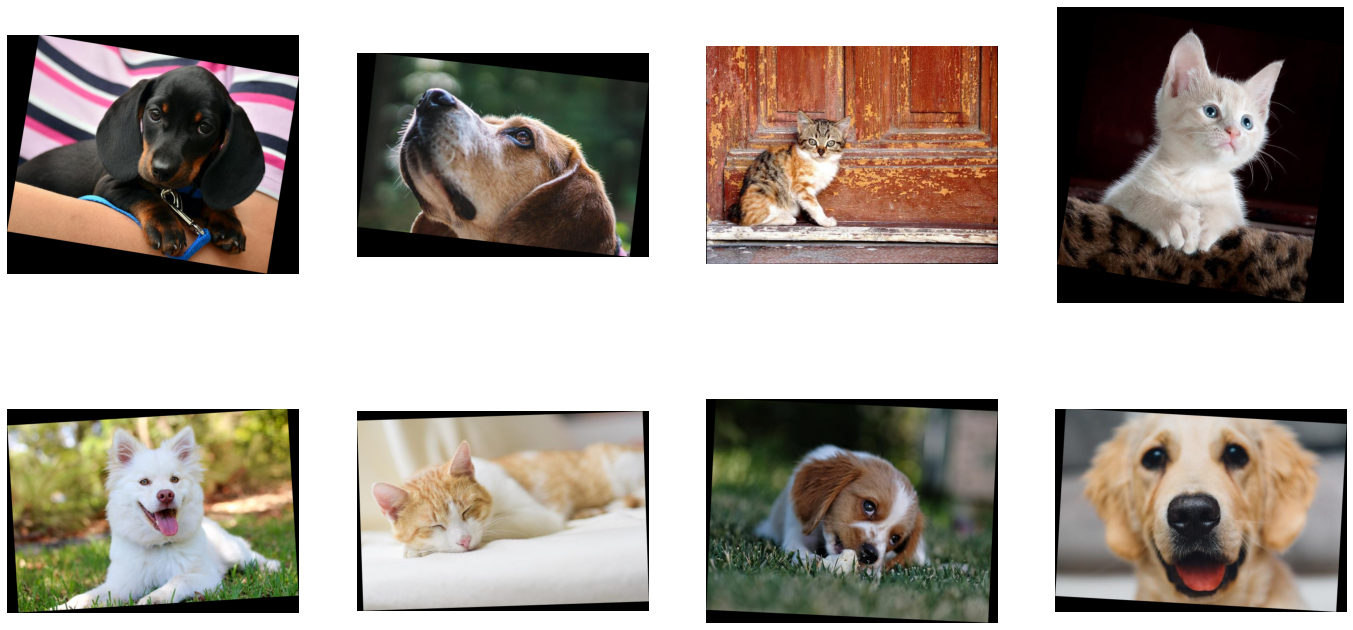
show_images(images)

这次,旋转角度是从一个值范围中随机选择的。
添加 GPU 加速#
DALI 提供对 GPU 加速操作符的访问,这可以提高输入和增强 pipeline 的速度,并使其可以扩展到多 GPU 系统。
将张量复制到 GPU#
让我们修改之前 RandomRotatedSimplePipeline 的示例,以使用 GPU 进行旋转。
[19]:
class RandomRotatedGPUPipeline(Pipeline):
    def __init__(self, max_batch_size, num_threads, device_id):
        super(RandomRotatedGPUPipeline, self).__init__(
            max_batch_size, num_threads, device_id, seed=1234
        )
        self.input = ops.readers.File(
            file_root=image_dir, random_shuffle=True, initial_fill=21
        )
        self.decode = ops.decoders.Image(device="cpu", output_type=types.RGB)
        self.rotate = ops.Rotate(device="gpu", fill_value=0)
        self.rng = ops.random.Uniform(range=(-10.0, 10.0))

    def define_graph(self):
        jpegs, labels = self.input()
        images = self.decode(jpegs)
        angle = self.rng()
        rotated_images = self.rotate(images.gpu(), angle=angle)
        return (rotated_images, labels)
为了告诉 DALI 我们想要使用 GPU,我们需要对 pipeline 进行 2 处更改
我们向
Rotate操作添加了device = "gpu"参数我们将旋转的输入从 CPU 上的张量
images更改为images.gpu(),它将其复制到 GPU
[20]:
pipe = RandomRotatedGPUPipeline(max_batch_size, 1, 0)
pipe.build()
[21]:
pipe_out = pipe.run()
print(pipe_out)
(TensorListGPU(
    [[[[0 0 0]
      [0 0 0]
      ...
      [0 0 0]
      [0 0 0]]

     [[0 0 0]
      [0 0 0]
      ...
      [0 0 0]
      [0 0 0]]

     ...

     [[0 0 0]
      [0 0 0]
      ...
      [0 0 0]
      [0 0 0]]

     [[0 0 0]
      [0 0 0]
      ...
      [0 0 0]
      [0 0 0]]]


    [[[0 0 0]
      [0 0 0]
      ...
      [0 0 0]
      [0 0 0]]

     [[0 0 0]
      [0 0 0]
      ...
      [0 0 0]
      [0 0 0]]

     ...

     [[0 0 0]
      [0 0 0]
      ...
      [0 0 0]
      [0 0 0]]

     [[0 0 0]
      [0 0 0]
      ...
      [0 0 0]
      [0 0 0]]]


    ...


    [[[0 0 0]
      [0 0 0]
      ...
      [0 0 0]
      [0 0 0]]

     [[0 0 0]
      [0 0 0]
      ...
      [0 0 0]
      [0 0 0]]

     ...

     [[0 0 0]
      [0 0 0]
      ...
      [0 0 0]
      [0 0 0]]

     [[0 0 0]
      [0 0 0]
      ...
      [0 0 0]
      [0 0 0]]]


    [[[0 0 0]
      [0 0 0]
      ...
      [0 0 0]
      [0 0 0]]

     [[0 0 0]
      [0 0 0]
      ...
      [0 0 0]
      [0 0 0]]

     ...

     [[0 0 0]
      [0 0 0]
      ...
      [0 0 0]
      [0 0 0]]

     [[0 0 0]
      [0 0 0]
      ...
      [0 0 0]
      [0 0 0]]]],
    dtype=DALIDataType.UINT8,
    layout="HWC",
    num_samples=8,
    shape=[(583, 710, 3),
           (477, 682, 3),
           (482, 642, 3),
           (761, 736, 3),
           (467, 666, 3),
           (449, 654, 3),
           (510, 662, 3),
           (463, 664, 3)]), TensorListCPU(
    [[0]
     [0]
     [1]
     [1]
     [0]
     [1]
     [0]
     [0]],
    dtype=DALIDataType.INT32,
    num_samples=8,
    shape=[(1,), (1,), (1,), (1,), (1,), (1,), (1,), (1,)]))
pipe_out 仍然包含 2 个 TensorLists,但这次第一个输出,Rotate 操作的结果,是在 GPU 上。我们无法直接从 CPU 访问 TensorListGPU 的内容,因此为了可视化结果,我们需要使用 as_cpu 方法将其复制到 CPU。
[22]:
images, labels = pipe_out
show_images(images.as_cpu())
重要提示#
DALI 中的默认执行器不允许 CPU 操作符跟随 GPU 操作符。要启用更灵活的 pipeline,请将 exec_dynamic=True 传递给 pipeline 构造函数或 @pipeline_def 装饰器。
混合解码#
有时,特别是对于较高分辨率的图像,解码以 JPEG 格式存储的图像可能会成为瓶颈。为了解决这个问题,开发了 nvJPEG 和 nvJPEG2000 库。它们在 CPU 和 GPU 之间拆分解码过程,从而显着缩短了解码时间。
在 decoders.Image 中指定 “mixed” 设备参数可启用 nvJPEG 和 nvJPEG2000 支持。其他文件格式仍在 CPU 上解码。
[23]:
class HybridPipeline(Pipeline):
    def __init__(self, max_batch_size, num_threads, device_id):
        super(HybridPipeline, self).__init__(
            max_batch_size, num_threads, device_id, seed=1234
        )
        self.input = ops.readers.File(
            file_root=image_dir, random_shuffle=True, initial_fill=21
        )
        self.decode = ops.decoders.Image(device="mixed", output_type=types.RGB)

    def define_graph(self):
        jpegs, labels = self.input()
        images = self.decode(jpegs)
        # images are on the GPU
        return (images, labels)
带有 device=mixed 的 decoders.Image 使用了一种混合计算方法,该方法同时使用 CPU 和 GPU。这意味着它接受 CPU 输入,但返回 GPU 输出。这就是为什么从 pipeline 返回的 images 对象类型为 TensorListGPU。
[24]:
pipe = HybridPipeline(max_batch_size, 1, 0)
pipe.build()
[25]:
pipe_out = pipe.run()
images, labels = pipe_out
show_images(images.as_cpu())
让我们通过测量具有 4 个 CPU 线程的 ShuffledSimplePipeline 和 HybridPipeline 的速度,来比较 ‘cpu’ 和 ‘mixed’ 后端的 decoders.Image 的速度。
[26]:
from timeit import default_timer as timer

test_batch_size = 64


def speedtest(pipeclass, batch, n_threads):
    pipe = pipeclass(batch, n_threads, 0)
    pipe.build()
    # warmup
    for i in range(5):
        pipe.run()
    # test
    n_test = 20
    t_start = timer()
    for i in range(n_test):
        pipe.run()
    t = timer() - t_start
    print("Speed: {} imgs/s".format((n_test * batch) / t))
[27]:
speedtest(ShuffledSimplePipeline, test_batch_size, 4)
Speed: 2710.326124438788 imgs/s
[28]:
speedtest(HybridPipeline, test_batch_size, 4)
Speed: 5860.449939768643 imgs/s
正如我们所看到的,使用 GPU 加速解码带来了显着的加速。