T5X 和 DALI 入门#
本教程展示了将 DALI 与 T5X 结合使用的基础知识。关于如何在 ImageNet 数据集上训练 Vision Transformer 的完整示例托管在 NVIDIA JAX-Toolbox 仓库中。本教程更详细地解释了其中使用的工作流程的 DALI 部分。
如果您尚未这样做,我们建议您首先从 DALI 和 JAX 入门教程 开始,因为它解释了 DALI 和 JAX 集成的基础知识。
先决条件#
本教程假定您已安装了带有 GPU 支持的 DALI 和 JAX。如果您尚未这样做,请按照 DALI 安装指南 和 JAX 安装指南 进行操作。
本示例使用的数据可以在 DALI Github 页面中找到。
[1]:
image_dir = "../../data/images"
用于 T5X 的 Peekable 迭代器#
Peekable 迭代器是 T5X 的专用数据迭代器。此迭代器与 Common Loop Utils 兼容,可用作 T5X 模型的数据源。
以下代码展示了如何通过使用 peekable 迭代器将 DALI 与 T5X 结合使用。该迭代器遵循与用于 JAX 的常规 DALI 迭代器相同的装饰器 API。如果您想了解更多信息,请参阅 DALI 和 JAX 入门教程。
[2]:
import nvidia.dali.fn as fn
from nvidia.dali.plugin.jax.clu import peekable_data_iterator


@peekable_data_iterator(
    output_map=["images", "labels"], reader_name="image_reader"
)
def iterator_fn():
    jpegs, labels = fn.readers.file(file_root=image_dir, name="image_reader")
    images = fn.decoders.image(jpegs, device="mixed")
    images = fn.resize(images, resize_x=128, resize_y=128)
    return images, labels


# iterator can be passed to T5X configuration as a data source
iterator = iterator_fn(batch_size=8)
除了常规的 next 方法外,peekable 迭代器还提供了 peek 和 peek_async 方法,这些方法返回当前批次,而不会推进迭代器。在 T5X 框架中,这用于在训练循环开始之前预热迭代器。peek 同步返回当前批次,而 peek_async 通过使用 Python future 异步返回当前批次。可以通过调用 result 方法从 future 中获取批次。
[3]:
peeked_batch = iterator.peek()

peeked_async_batch = (
    iterator.peek_async()
)  # returns a future to the current batch
peeked_async_batch = (
    peeked_async_batch.result()
)  # blocks until the batch is ready

batch = next(iterator)
我们可以通过打印批次来确认迭代器是否按预期工作。我们期望它们是相同的,因为 peek 和 peek_async 不会推进迭代器。
让我们编写一个辅助函数来显示批次
[4]:
import matplotlib.pyplot as plt
from matplotlib import gridspec


def show_image(images):
    columns = 4
    rows = (images.shape[0] + 1) // (columns)
    plt.figure(figsize=(24, (24 // columns) * rows))
    gs = gridspec.GridSpec(rows, columns)
    for j in range(rows * columns):
        plt.subplot(gs[j])
        plt.axis("off")
        plt.imshow(images[j])
常规批次
[5]:
show_image(batch["images"])
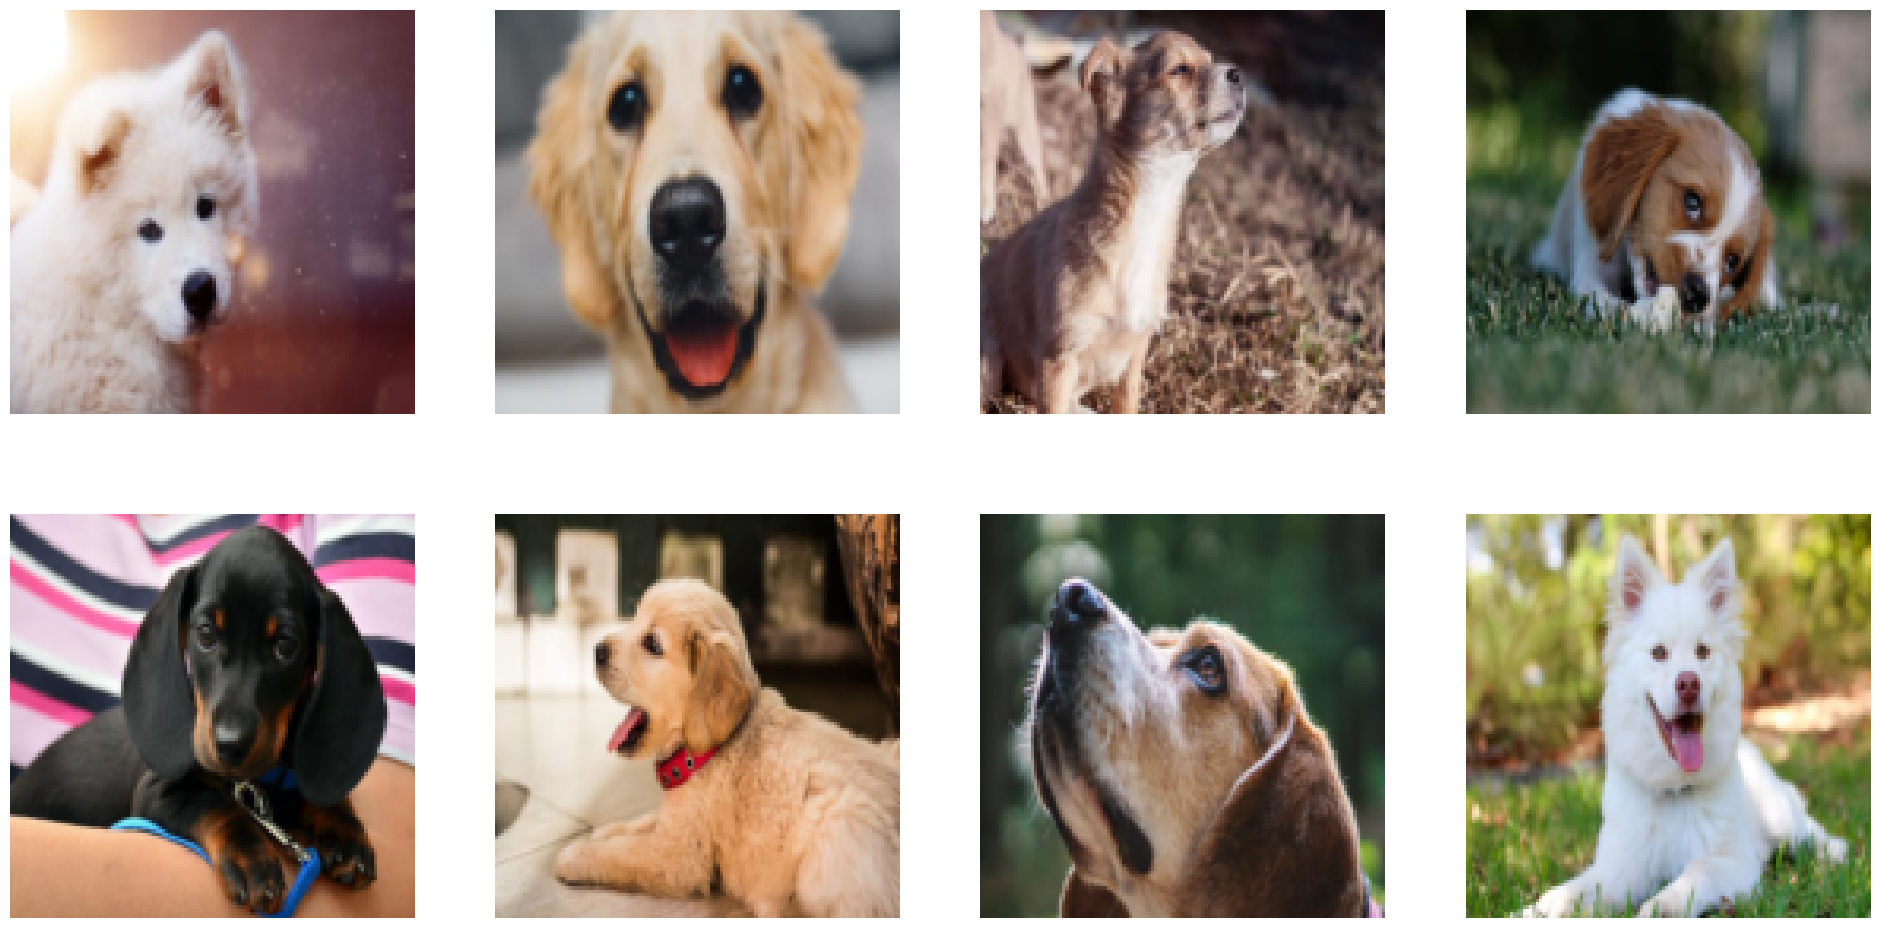
Peeked 批次
[6]:
show_image(peeked_batch["images"])

Peeked async 批次
[7]:
batch = peeked_async_batch
show_image(batch["images"])

此迭代器以及用于 JAX 的常规 DALI 迭代器与 JAX 分片 API 兼容。这允许跨多个 GPU 拆分数据并在分布式方式下训练模型。装饰器接受 sharding 参数,该参数指定将数据拆分成的分片数量。以下代码展示了如何在分片中使用迭代器
[8]:
import jax
from jax.sharding import Mesh, PartitionSpec, NamedSharding

mesh = Mesh(jax.devices(), axis_names=("batch"))
sharding = NamedSharding(mesh, PartitionSpec("batch"))

print(sharding)
NamedSharding(mesh=Mesh('batch': 2), spec=PartitionSpec('batch',))
[9]:
@peekable_data_iterator(
    output_map=["images", "labels"],
    reader_name="image_reader",
    sharding=sharding,
)
def iterator_fn(num_shards=1, shard_id=0):
    jpegs, labels = fn.readers.file(
        file_root=image_dir,
        name="image_reader",
        num_shards=num_shards,
        shard_id=shard_id,
    )
    images = fn.decoders.image(jpegs, device="mixed")
    images = fn.resize(images, resize_x=128, resize_y=128)
    return images, labels.gpu()


iterator = iterator_fn(batch_size=8)
[10]:
batch = next(iterator)

jax.debug.visualize_array_sharding(batch["images"].ravel())
GPU 0 GPU 1
[11]:
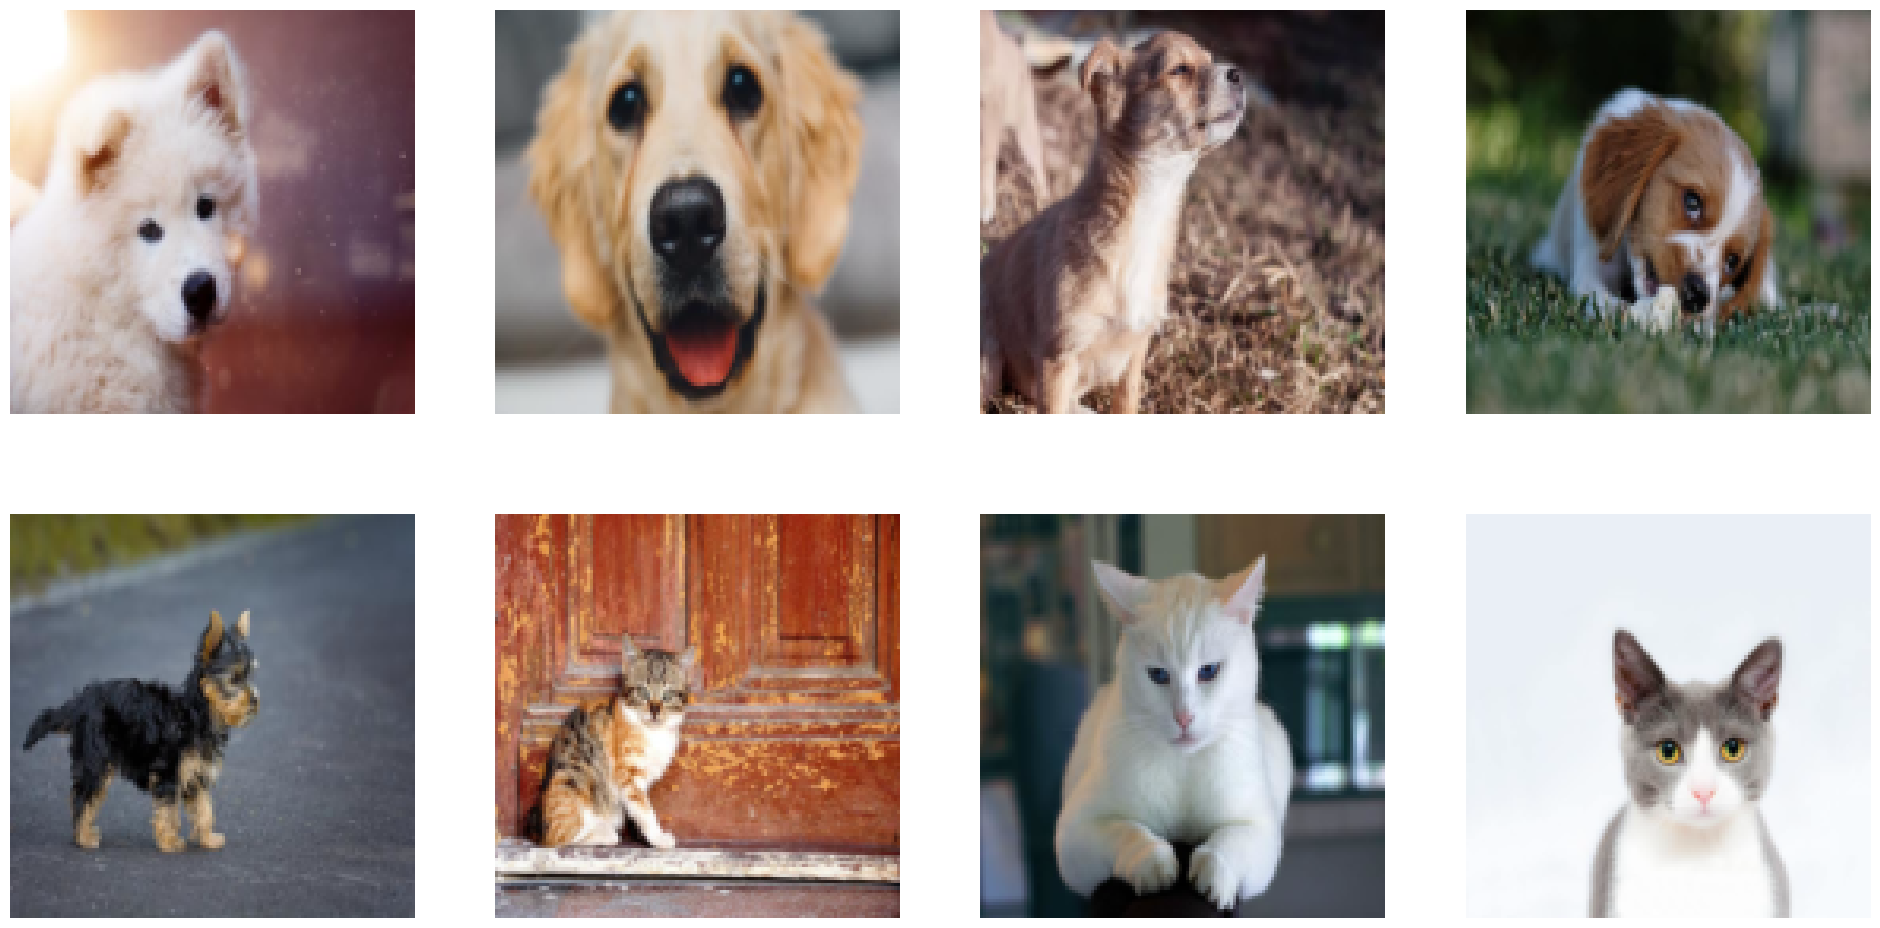
show_image(batch["images"])
下一步去哪里#
恭喜!您已成功完成本教程。现在您知道如何将 DALI 与 JAX 和 T5X 结合使用。以下是一些关于下一步去哪里的建议
要继续学习关于 DALI 和 JAX 的知识,您可以访问 DALI 文档的相关部分。
要查看在 T5X 中使用 DALI 作为数据源训练模型的完整规模示例,您可以访问 NVIDIA JAX-Toolbox 仓库。