入门指南#
概述#
NVIDIA Data Loading Library (DALI) 是一个高度优化的构建块集合和一个执行引擎,可加速计算机视觉和音频深度学习应用的数据 pipeline。
深度学习框架提供的输入和增强 pipeline 通常分为两类
快速但缺乏灵活性 - 用 C++ 编写,它们作为单个单体 Python 对象公开,具有非常特定的操作集和排序
慢速但灵活 - 用 C++ 或 Python 编写的构建块集合,可用于组成最终速度缓慢的任意数据 pipeline。 这种类型的数据 pipeline 的最大开销之一是 Python 中的全局解释器锁 (GIL)。 这迫使开发人员使用多处理,从而使高效输入 pipeline 的设计复杂化。
DALI 的突出之处在于它既提供了加速不同数据 pipeline 的性能,又提供了灵活性。 它通过公开优化的构建块来实现这一点,这些构建块使用简单高效的引擎执行,并支持将操作卸载到 GPU(从而实现扩展到多 GPU 系统)。
它是一个单独的库,可以轻松集成到不同的深度学习训练和推理应用程序中。
DALI 在启用 GPU 的系统上提供易用性和灵活性,具有直接框架插件、多种输入数据格式和可配置的图。 由于 CPU 周期限制导致 I/O pipeline 成为瓶颈,DALI 可以帮助加速深度学习工作流程的整体速度。 通常,GPU 与 CPU 比率高的系统(例如 Amazon EC2 P3.16xlarge、NVIDIA DGX1-V 或 NVIDIA DGX-2)在主机 CPU 上受到限制,从而未能充分利用可用的 GPU 计算能力。 DALI 显著加速了此类密集 GPU 配置上的输入处理,从而实现整体吞吐量。
Pipeline#
DALI 数据处理的核心在于数据处理 pipeline 的概念。 它由多个以有向图形式连接的操作组成,并包含在 class nvidia.dali.Pipeline 的对象中。 此类提供了定义、构建和运行数据处理 pipeline 所必需的函数。
[1]:
from nvidia.dali.pipeline import Pipeline
定义 Pipeline#
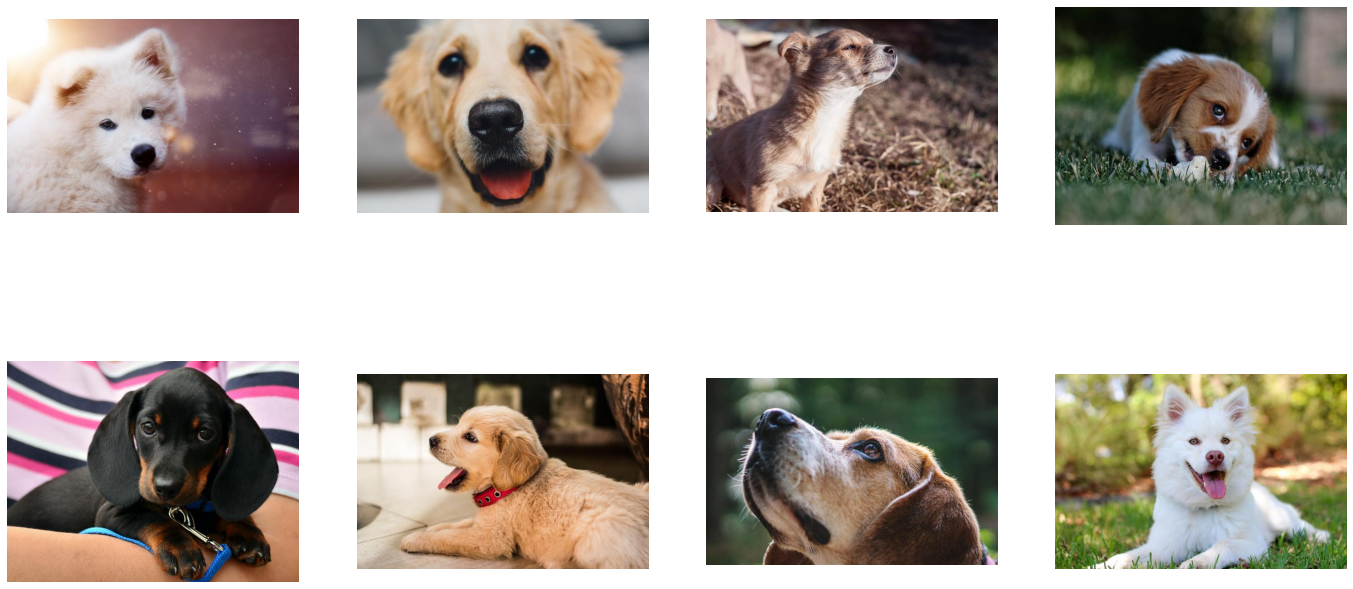
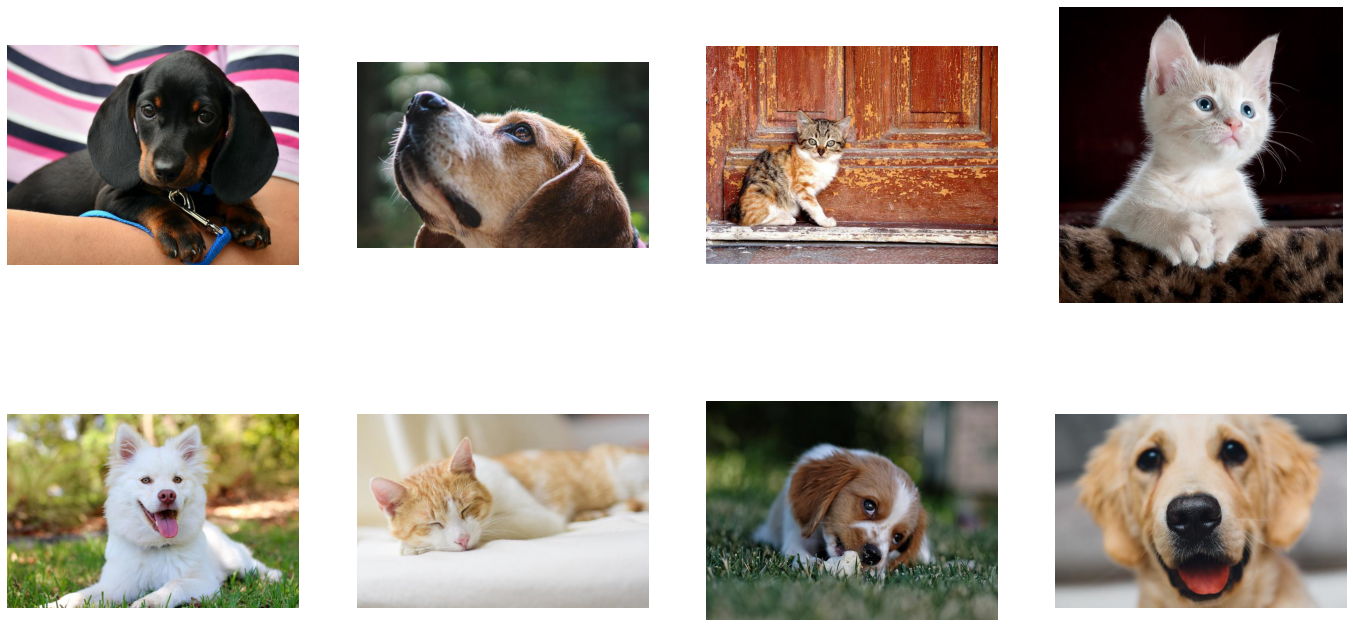
让我们从定义一个非常简单的 pipeline 开始,用于分类任务,以确定图片是否包含狗或小猫。 我们准备了一个目录结构,其中包含狗和小猫的图片 在我们的存储库中。
我们的简单 pipeline 将从该目录读取图像,解码它们并返回(图像,标签)对。
创建 pipeline 的最简单方法是使用 pipeline_def 装饰器。 在 simple_pipeline 函数中,我们定义要执行的操作以及它们之间计算的流程。
使用
fn.readers.file从硬盘读取 jpeg(编码图像)和标签。使用
fn.decoders.image操作将图像从 jpeg 解码为 RGB。指定哪些中间变量应作为 pipeline 的输出返回。
有关 pipeline_def 的更多信息,请参阅 文档。
[2]:
from nvidia.dali import pipeline_def
import nvidia.dali.fn as fn
import nvidia.dali.types as types

image_dir = "data/images"
max_batch_size = 8


@pipeline_def
def simple_pipeline():
    jpegs, labels = fn.readers.file(file_root=image_dir)
    images = fn.decoders.image(jpegs, device="cpu")

    return images, labels
构建 Pipeline#
为了使用用 simple_pipeline 定义的 pipeline,我们需要实例化它。 这可以通过调用 simple_pipeline 来实现,这将创建 pipeline 的实例。
[3]:
pipe = simple_pipeline(batch_size=max_batch_size, num_threads=1, device_id=0)
请注意,使用 pipeline_def 装饰函数会向其添加新的命名参数。 它们可用于控制 pipeline 的各个方面,例如
最大批处理大小,
用于在 CPU 上执行计算的线程数,
要使用的 GPU 设备(用
simple_pipeline创建的 pipeline 尚未使用 GPU 进行计算),随机数生成的种子。
有关 Pipeline 参数的更多信息,您可以查看 Pipeline 文档。
运行 Pipeline#
创建 pipeline 实例后,我们可以运行它以获取一批结果。
[4]:
pipe_out = pipe.run()
print(pipe_out)
(TensorListCPU(
    [[[[255 255 255]
      [255 255 255]
      ...
      [ 86  46  55]
      [ 86  46  55]]

     [[255 255 255]
      [255 255 255]
      ...
      [ 86  46  55]
      [ 86  46  55]]

     ...

     [[158 145 154]
      [158 147 155]
      ...
      [ 93  38  41]
      [ 93  38  41]]

     [[157 145 155]
      [158 146 156]
      ...
      [ 93  38  41]
      [ 93  38  41]]]


    [[[ 69  77  80]
      [ 69  77  80]
      ...
      [ 97 105 108]
      [ 97 105 108]]

     [[ 69  77  80]
      [ 70  78  81]
      ...
      [ 97 105 108]
      [ 97 105 108]]

     ...

     [[199 203 206]
      [199 203 206]
      ...
      [206 210 213]
      [206 210 213]]

     [[199 203 206]
      [199 203 206]
      ...
      [206 210 213]
      [206 210 213]]]


    ...


    [[[ 26  28  25]
      [ 26  28  25]
      ...
      [ 34  39  33]
      [ 34  39  33]]

     [[ 26  28  25]
      [ 26  28  25]
      ...
      [ 34  39  33]
      [ 34  39  33]]

     ...

     [[ 35  46  30]
      [ 36  47  31]
      ...
      [114  99 106]
      [127 114 121]]

     [[ 35  46  30]
      [ 35  46  30]
      ...
      [107  92  99]
      [112  97 102]]]


    [[[182 185 132]
      [180 183 128]
      ...
      [ 98 103   9]
      [ 97 102   8]]

     [[180 183 130]
      [179 182 127]
      ...
      [ 93  98   4]
      [ 91  96   2]]

     ...

     [[ 69 111  71]
      [ 68 111  66]
      ...
      [147 159 121]
      [148 163 124]]

     [[ 64 109  68]
      [ 64 110  64]
      ...
      [113 123  88]
      [104 116  80]]]],
    dtype=DALIDataType.UINT8,
    layout="HWC",
    num_samples=8,
    shape=[(427, 640, 3),
           (427, 640, 3),
           (425, 640, 3),
           (480, 640, 3),
           (485, 640, 3),
           (427, 640, 3),
           (409, 640, 3),
           (427, 640, 3)]), TensorListCPU(
    [[0]
     [0]
     [0]
     [0]
     [0]
     [0]
     [0]
     [0]],
    dtype=DALIDataType.INT32,
    num_samples=8,
    shape=[(1,), (1,), (1,), (1,), (1,), (1,), (1,), (1,)]))
pipeline 的输出(我们已保存到 pipe_out 变量)是一个包含 2 个元素的元组(正如预期的那样 - 我们在 simple_pipeline 函数中指定了 2 个输出)。 这两个元素都是 TensorListCPU 对象 - 每个对象都包含 CPU 张量列表。
为了显示结果(仅用于调试目的 - 在实际训练期间我们不会执行此步骤,因为它会使我们的图像批次从 GPU 往返到 CPU 并返回),我们可以将我们的数据从 DALI 的张量发送到 NumPy 数组。 并非每个 TensorList 都可以通过这种方式访问 - TensorList 比 NumPy 数组更通用,并且可以容纳具有不同形状的张量。 为了检查我们是否可以直接将其发送到 NumPy,我们可以调用 TensorList 的 is_dense_tensor 函数
[5]:
images, labels = pipe_out
print("Images is_dense_tensor: " + str(images.is_dense_tensor()))
print("Labels is_dense_tensor: " + str(labels.is_dense_tensor()))
Images is_dense_tensor: False
Labels is_dense_tensor: True
事实证明,包含标签的 TensorList 可以用张量表示,而包含图像的 TensorList 则不能。
让我们看看返回标签的形状和内容。
[6]:
print(labels)
TensorListCPU(
    [[0]
     [0]
     [0]
     [0]
     [0]
     [0]
     [0]
     [0]],
    dtype=DALIDataType.INT32,
    num_samples=8,
    shape=[(1,), (1,), (1,), (1,), (1,), (1,), (1,), (1,)])
为了查看图像,我们需要循环遍历 TensorList 中包含的所有张量,使用其 at 方法访问。
[7]:
import matplotlib.gridspec as gridspec
import matplotlib.pyplot as plt

%matplotlib inline


def show_images(image_batch):
    columns = 4
    rows = (max_batch_size + 1) // (columns)
    fig = plt.figure(figsize=(24, (24 // columns) * rows))
    gs = gridspec.GridSpec(rows, columns)
    for j in range(rows * columns):
        plt.subplot(gs[j])
        plt.axis("off")
        plt.imshow(image_batch.at(j))
[8]:
show_images(images)
添加增强#
随机打乱#
正如我们从上面的示例中看到的那样,我们的 pipeline 返回的第一批图像仅包含狗。 这是因为我们没有打乱我们的数据集,因此 fn.readers.file 以字典顺序返回图像。
让我们创建一个新的 pipeline,这将改变这种情况。
[9]:
@pipeline_def
def shuffled_pipeline():
    jpegs, labels = fn.readers.file(
        file_root=image_dir, random_shuffle=True, initial_fill=21
    )
    images = fn.decoders.image(jpegs, device="cpu")

    return images, labels
我们对 simple_pipeline 进行了 2 项更改以获得 shuffled_pipeline - 我们向 fn.readers.file 操作添加了 2 个参数
random_shuffle启用读取器中图像的打乱。 打乱是通过使用从磁盘读取的图像缓冲区来执行的。 当要求读取器提供下一张图像时,它会从缓冲区中随机选择一张图像,输出它,并立即用新读取的图像替换缓冲区中的该位置。initial_fill设置缓冲区的容量。 此参数的默认值 (1000) 非常适合包含数千个示例的数据集,但对于我们非常小的数据集(仅包含 21 张图像)来说太大了。 这可能会导致返回的批次中频繁出现重复项。 这就是为什么在本示例中我们将其设置为数据集大小的原因。
让我们测试此修改的结果。
[10]:
pipe = shuffled_pipeline(
    batch_size=max_batch_size, num_threads=1, device_id=0, seed=1234
)
[11]:
pipe_out = pipe.run()
images, labels = pipe_out
show_images(images)
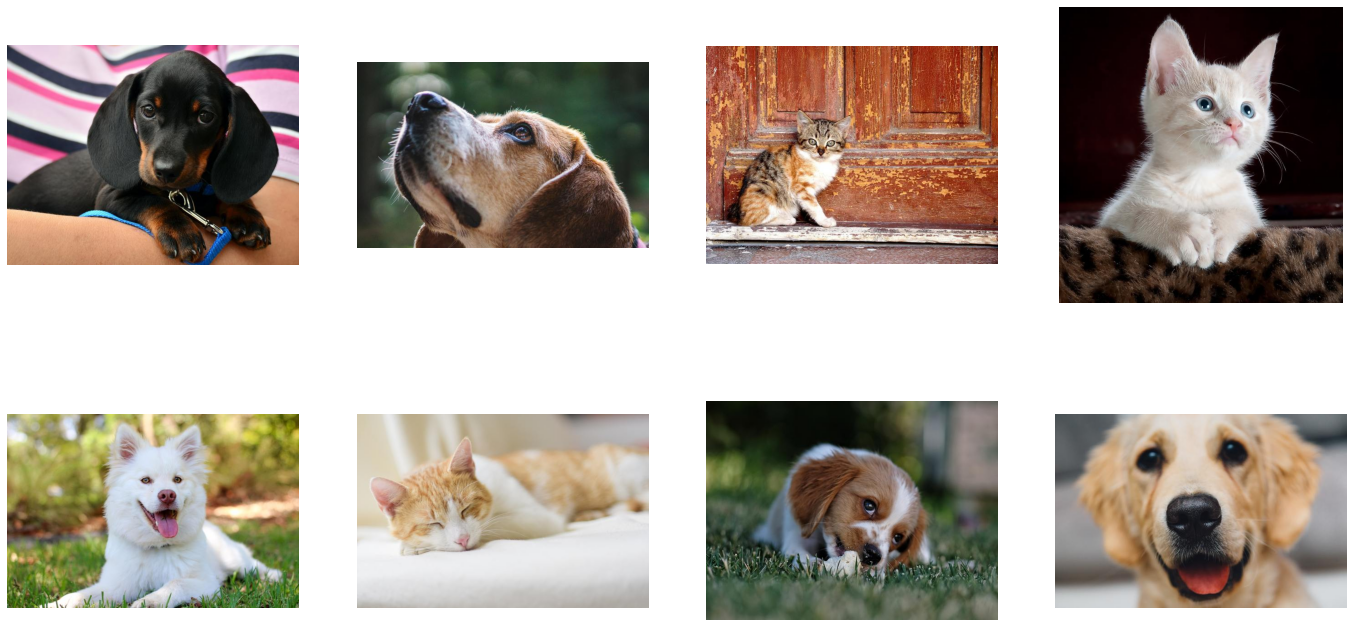
现在 pipeline 返回的图像已正确打乱。
增强#
DALI 不仅可以从磁盘读取图像并将它们批处理到张量中,还可以对这些图像执行各种增强,以改进深度学习训练结果。
此类增强的一个示例是旋转。 让我们创建一个新的 pipeline,它在输出图像之前旋转图像。
[12]:
@pipeline_def
def rotated_pipeline():
jpegs, labels = fn.readers.file(
file_root=image_dir, random_shuffle=True, initial_fill=21
)
images = fn.decoders.image(jpegs, device="cpu")
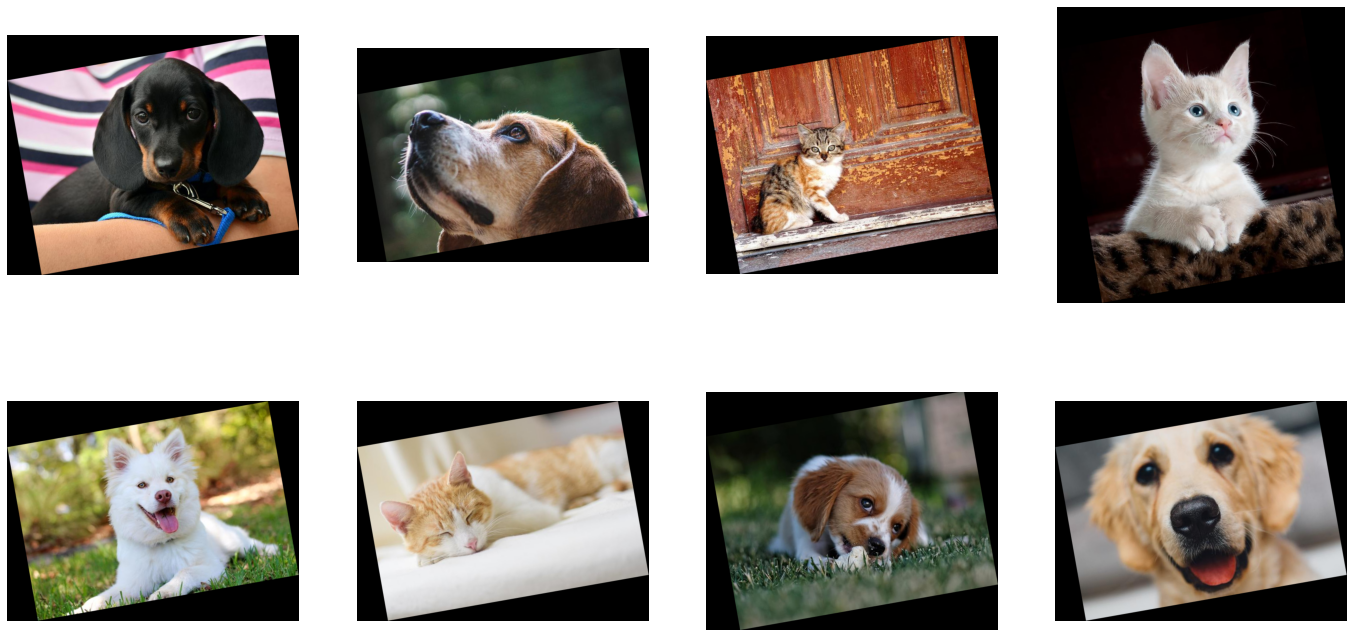
rotated_images = fn.rotate(images, angle=10.0, fill_value=0)
return rotated_images, labels
为此,我们在 pipeline 中添加了一个新操作:fn.rotate。
正如我们在 文档 中看到的那样,rotate 可以接受多个参数,但除了 input 之外,只有一个是必需的 - angle 告诉操作符它应该旋转图像多少角度。 我们还指定了 fill_value 以更好地可视化结果。
让我们测试新创建的 pipeline
[13]:
pipe = rotated_pipeline(
    batch_size=max_batch_size, num_threads=1, device_id=0, seed=1234
)
pipe.build()
[14]:
pipe_out = pipe.run()
images, labels = pipe_out
show_images(images)
张量作为参数和随机数生成#
将每张图像旋转 10 度并没有那么有趣。 为了进行有意义的增强,我们希望操作符在给定范围内以随机角度旋转我们的图像。
Rotate 的 angle 参数可以接受 float 或 float tensor 类型的值。 第二个选项 float tensor 使我们能够通过其他操作生成的张量,为每个图像提供不同的旋转角度。
随机数生成器是可以与 DALI 一起使用的操作示例。 让我们使用 fn.random.uniform 创建一个以随机角度旋转图像的 pipeline。
注意
请记住,每次将 DALI 操作符的输出作为命名关键字参数传递给另一个操作符时,该数据都必须放置在 CPU 上。 在下面的示例中,我们使用
random.uniform的输出(其默认设备为“cpu”)作为rotate的angle关键字参数。DALI 中的此类参数称为“参数输入”。 有关它们的更多信息,请参阅 pipeline 文档部分。
常规输入(非命名、位置输入)没有此类约束,并且可以使用 CPU 或 GPU 数据,如下所示。
[15]:
@pipeline_def
def random_rotated_pipeline():
    jpegs, labels = fn.readers.file(
        file_root=image_dir, random_shuffle=True, initial_fill=21
    )
    images = fn.decoders.image(jpegs, device="cpu")
    angle = fn.random.uniform(range=(-10.0, 10.0))
    rotated_images = fn.rotate(images, angle=angle, fill_value=0)

    return rotated_images, labels
这次,我们没有为 angle 参数提供固定值,而是将其设置为 fn.random.uniform 操作符的输出。
让我们检查一下结果
[16]:
pipe = random_rotated_pipeline(
    batch_size=max_batch_size, num_threads=1, device_id=0, seed=1234
)
[17]:
pipe_out = pipe.run()
images, labels = pipe_out
show_images(images)
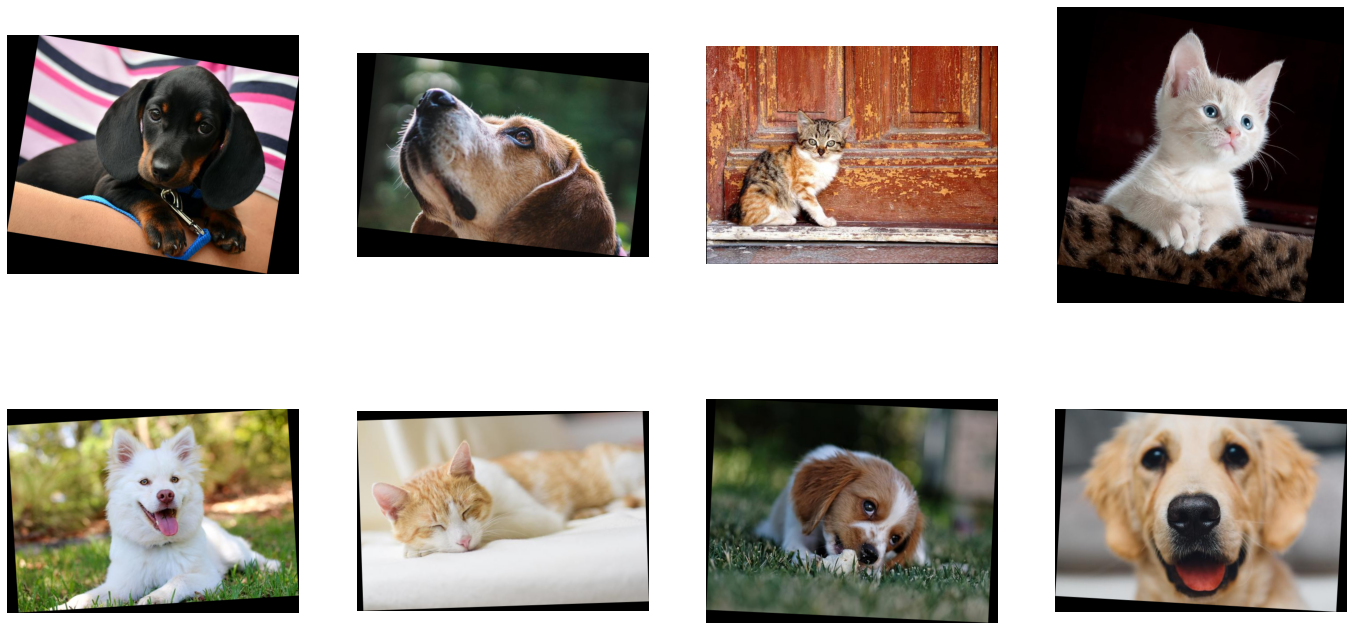
这次,旋转角度是从值范围中随机选择的。
添加 GPU 加速#
DALI 提供对 GPU 加速操作符的访问,这可以提高输入和增强 pipeline 的速度,并使其扩展到多 GPU 系统。
将张量复制到 GPU#
让我们修改之前的 random_rotated_pipeline 示例,以使用 GPU 进行旋转。
[18]:
@pipeline_def
def random_rotated_gpu_pipeline():
    jpegs, labels = fn.readers.file(
        file_root=image_dir, random_shuffle=True, initial_fill=21
    )
    images = fn.decoders.image(jpegs, device="cpu")
    angle = fn.random.uniform(range=(-10.0, 10.0))
    rotated_images = fn.rotate(images.gpu(), angle=angle, fill_value=0)

    return rotated_images, labels
为了告诉 DALI 我们想要使用 GPU,我们只需要对 pipeline 进行一项更改。 我们将 rotate 操作的输入从 CPU 上的张量 images 更改为 images.gpu(),这会将其复制到 GPU。
[19]:
pipe = random_rotated_gpu_pipeline(
    batch_size=max_batch_size, num_threads=1, device_id=0, seed=1234
)
pipe.build()
[20]:
pipe_out = pipe.run()
print(pipe_out)
(TensorListGPU(
    [[[[0 0 0]
      [0 0 0]
      ...
      [0 0 0]
      [0 0 0]]

     [[0 0 0]
      [0 0 0]
      ...
      [0 0 0]
      [0 0 0]]

     ...

     [[0 0 0]
      [0 0 0]
      ...
      [0 0 0]
      [0 0 0]]

     [[0 0 0]
      [0 0 0]
      ...
      [0 0 0]
      [0 0 0]]]


    [[[0 0 0]
      [0 0 0]
      ...
      [0 0 0]
      [0 0 0]]

     [[0 0 0]
      [0 0 0]
      ...
      [0 0 0]
      [0 0 0]]

     ...

     [[0 0 0]
      [0 0 0]
      ...
      [0 0 0]
      [0 0 0]]

     [[0 0 0]
      [0 0 0]
      ...
      [0 0 0]
      [0 0 0]]]


    ...


    [[[0 0 0]
      [0 0 0]
      ...
      [0 0 0]
      [0 0 0]]

     [[0 0 0]
      [0 0 0]
      ...
      [0 0 0]
      [0 0 0]]

     ...

     [[0 0 0]
      [0 0 0]
      ...
      [0 0 0]
      [0 0 0]]

     [[0 0 0]
      [0 0 0]
      ...
      [0 0 0]
      [0 0 0]]]


    [[[0 0 0]
      [0 0 0]
      ...
      [0 0 0]
      [0 0 0]]

     [[0 0 0]
      [0 0 0]
      ...
      [0 0 0]
      [0 0 0]]

     ...

     [[0 0 0]
      [0 0 0]
      ...
      [0 0 0]
      [0 0 0]]

     [[0 0 0]
      [0 0 0]
      ...
      [0 0 0]
      [0 0 0]]]],
    dtype=DALIDataType.UINT8,
    layout="HWC",
    num_samples=8,
    shape=[(583, 710, 3),
           (477, 682, 3),
           (482, 642, 3),
           (761, 736, 3),
           (467, 666, 3),
           (449, 654, 3),
           (510, 662, 3),
           (463, 664, 3)]), TensorListCPU(
    [[0]
     [0]
     [1]
     [1]
     [0]
     [1]
     [0]
     [0]],
    dtype=DALIDataType.INT32,
    num_samples=8,
    shape=[(1,), (1,), (1,), (1,), (1,), (1,), (1,), (1,)]))
pipe_out 仍然包含 2 个 TensorList,但这次第一个输出,rotate 操作的结果,在 GPU 上。 我们无法直接从 CPU 访问 TensorListGPU 的内容,因此为了可视化结果,我们需要使用 as_cpu 方法将其复制到 CPU。
[21]:
images, labels = pipe_out
show_images(images.as_cpu())

重要提示#
DALI 中的默认执行器不允许 CPU 操作符跟随 GPU 操作符。 要启用更灵活的 pipeline,请将 exec_dynamic=True 传递给 pipeline 构造函数或 @pipeline_def 装饰器。
混合解码#
有时,特别是对于更高分辨率的图像,解码以 JPEG 格式存储的图像可能会成为瓶颈。 为了解决这个问题,开发了 nvJPEG 和 nvJPEG2000 库。 它们在 CPU 和 GPU 之间拆分解码过程,从而显著减少解码时间。
在 fn.decoders.image 中指定 “mixed” 设备参数可启用 nvJPEG 和 nvJPEG2000 支持。 其他文件格式仍将在 CPU 上解码。
[22]:
@pipeline_def
def hybrid_pipeline():
    jpegs, labels = fn.readers.file(
        file_root=image_dir, random_shuffle=True, initial_fill=21
    )
    images = fn.decoders.image(jpegs, device="mixed")

    return images, labels
带有 device=mixed 的 fn.decoders.image 使用计算的混合方法,该方法同时使用 CPU 和 GPU。 这意味着它接受 CPU 输入,但返回 GPU 输出。 这就是为什么从 pipeline 返回的 images 对象类型为 TensorListGPU。
[23]:
pipe = hybrid_pipeline(
    batch_size=max_batch_size, num_threads=1, device_id=0, seed=1234
)
pipe.build()
[24]:
pipe_out = pipe.run()
images, labels = pipe_out
show_images(images.as_cpu())
让我们通过测量具有 4 个 CPU 线程的 shuffled_pipeline 和 hybrid_pipeline 的速度来比较 ‘cpu’ 和 ‘mixed’ 后端的 fn.decoders.image 的速度。
[25]:
from timeit import default_timer as timer

test_batch_size = 64


def speedtest(pipeline, batch, n_threads):
    pipe = pipeline(batch_size=batch, num_threads=n_threads, device_id=0)
    pipe.build()
    # warmup
    for i in range(5):
        pipe.run()
    # test
    n_test = 20
    t_start = timer()
    for i in range(n_test):
        pipe.run()
    t = timer() - t_start
    print("Speed: {} imgs/s".format((n_test * batch) / t))
[26]:
speedtest(shuffled_pipeline, test_batch_size, 4)
Speed: 2597.527149961429 imgs/s
[27]:
speedtest(hybrid_pipeline, test_batch_size, 4)
Speed: 5828.851662794091 imgs/s
正如我们所看到的,使用 GPU 加速解码带来了显著的加速。