nvImageCodec 与 TensorFlow#
[1]:
import os
import cv2
import matplotlib.pyplot as plt
import cupy as cp
设置较低的日志级别并导入 tensorflow
[2]:
os.environ['TF_CPP_MIN_LOG_LEVEL'] = '3'
import tensorflow as tf
导入 nvImageCodec
[3]:
from nvidia import nvimgcodec
设置资源文件夹
[4]:
resources_dir = os.getenv("PYNVIMGCODEC_EXAMPLES_RESOURCES_DIR", "../assets/images/")
创建 nvImageCodec 解码器
[5]:
decoder = nvimgcodec.Decoder()
解码 JPEG2000 文件
[6]:
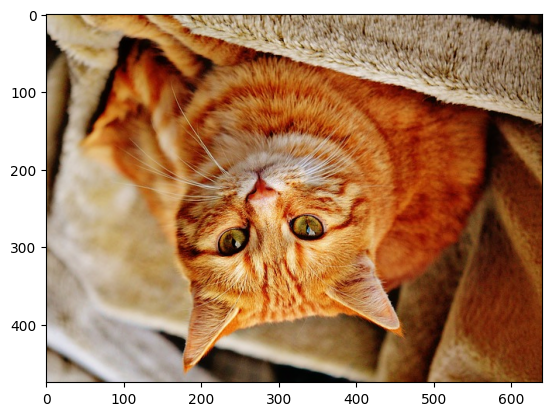
nv_img = decoder.read(resources_dir + "cat-1046544_640.jp2")
将图像传输到主机内存并使用 matplotlib.pyplot 显示
[7]:
plt.imshow(nv_img.cpu())
[7]:
<matplotlib.image.AxesImage at 0x7fa2b8c3e5c0>

使用 DLPack 将图像零拷贝转换为张量
[8]:
cap = nv_img.to_dlpack()

# tensorflow needs to have all data in the device, as it didn't expose stream which we can synchronize with
cp.cuda.runtime.deviceSynchronize()

tf_img = tf.experimental.dlpack.from_dlpack(cap)
print("device:", tf_img.device)
print("dtype of tensor:", tf_img.dtype)
device: /job:localhost/replica:0/task:0/device:GPU:0
dtype of tensor: <dtype: 'uint8'>
让我们翻转张量
[9]:
tf_img_flip = tf.image.flip_up_down(tf_img)
将张量传递给 cuPy,然后传递给 numpy 以显示翻转后的图像
[10]:
cp_img = cp.from_dlpack(tf.experimental.dlpack.to_dlpack(tf_img_flip))
np_img = cp.asnumpy(cp_img)
plt.imshow(np_img)
[10]:
<matplotlib.image.AxesImage at 0x7fa2b4359e70>
将张量零拷贝转换回图像
[11]:
cap = tf.experimental.dlpack.to_dlpack(tf_img_flip)
nv_flipped_img = nvimgcodec.as_image(cap)
另存为 Jpeg2000
[12]:
encoder = nvimgcodec.Encoder()
encoder.write("tf_flipped.j2k", nv_flipped_img)
使用 OpenCV 加载以验证
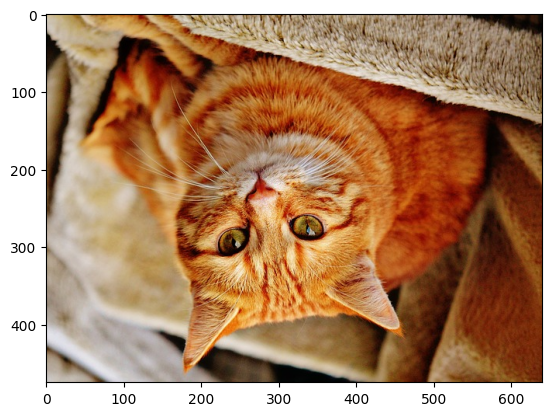
[13]:
image = cv2.imread("tf_flipped.j2k")
image = cv2.cvtColor(image, cv2.COLOR_BGR2RGB)
plt.imshow(image)
[13]:
<matplotlib.image.AxesImage at 0x7fa2b43f38b0>