nvImageCodec 与 cuCIM (仅限 Linux)#
[1]:
import os
from matplotlib import pyplot as plt
import cupy as cp
设置资源文件夹
[2]:
resources_dir = os.getenv("PYNVIMGCODEC_EXAMPLES_RESOURCES_DIR", "../assets/images/")
导入 nvImageCodec 模块并创建解码器和编码器
[3]:
from nvidia import nvimgcodec
decoder = nvimgcodec.Decoder()
encoder = nvimgcodec.Encoder()
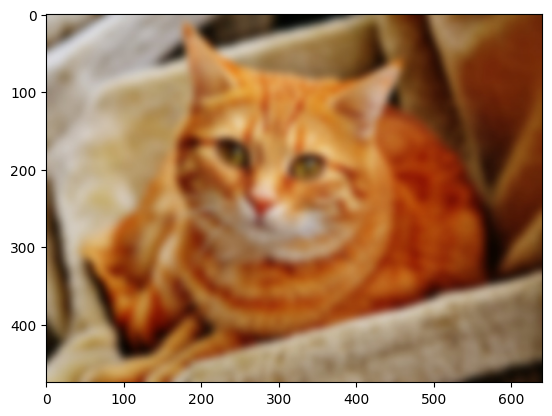
使用 nvImageCodec 读取和解码 Jpeg2000 文件
[4]:
nv_img = decoder.read(resources_dir + "cat-1046544_640.jp2")
转换为 cupy ndarray
[5]:
cp_img = cp.asarray(nv_img)
[6]:
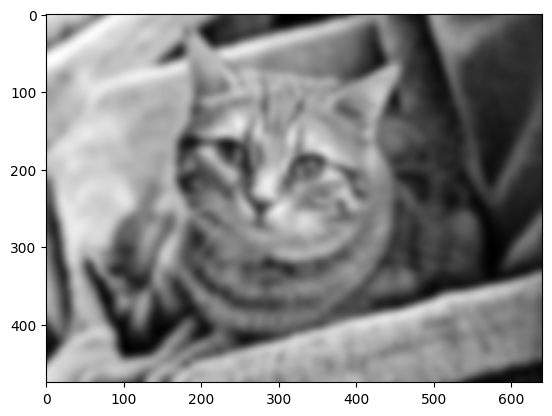
cp_img_single_channel = cp_img[:, :, 1]
[7]:
from cucim.skimage.filters import gaussian
cp_img_blurred = gaussian(cp_img_single_channel, sigma=5)
image = cp.asnumpy(cp_img_blurred)
plt.imshow(image, cmap='gray')
[7]:
<matplotlib.image.AxesImage at 0x7fb18684cdc0>
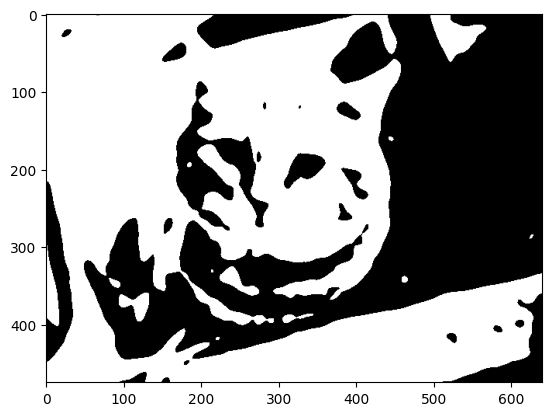
[8]:
from cucim.skimage.filters import threshold_otsu
# determine threshold
threshold = threshold_otsu(cp_img_blurred)

# binarize image by apply the threshold
cp_binary_gpu = cp_img_blurred > threshold

image = cp.asnumpy(cp_binary_gpu)
plt.imshow(image, cmap='gray')
[8]:
<matplotlib.image.AxesImage at 0x7fb173466bb0>
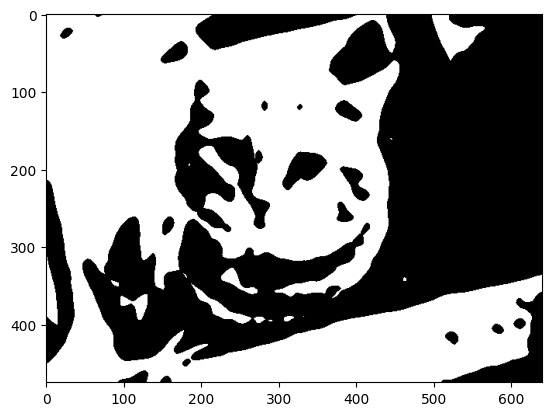
[9]:
from cucim.skimage.morphology import binary_erosion, disk

eroded_gpu = binary_erosion(cp_binary_gpu, selem=disk(2))
image = cp.asnumpy(eroded_gpu)
plt.imshow(image, cmap='gray')
/tmp/ipykernel_554/1058723275.py:3: FutureWarning: `selem` is a deprecated argument name for `binary_erosion`. It will be removed in cuCIM version 23.02.00.Please use `footprint` instead.
  eroded_gpu = binary_erosion(cp_binary_gpu, selem=disk(2))
[9]:
<matplotlib.image.AxesImage at 0x7fb17338b1f0>
我们可以直接将 nvImageCodec Image 对象传递给 cuCIM
[10]:
cp_img_blurred_color = gaussian(nv_img, sigma=5)
image = cp.asnumpy(cp_img_blurred_color)
plt.imshow(image)
/tmp/ipykernel_554/2899640136.py:1: FutureWarning: Automatic detection of the color channel was deprecated in v0.19, and `channel_axis=None` will be the new default in v0.21. Set `channel_axis=-1` explicitly to silence this warning.
  cp_img_blurred_color = gaussian(nv_img, sigma=5)
[10]:
<matplotlib.image.AxesImage at 0x7fb1732ff9a0>

请注意,cuCIM 返回模糊的彩色图像,格式为 HWC 且为浮点型,因此必须进行转换
[11]:
print(cp_img_blurred_color.__cuda_array_interface__)
cp_img_blurred_color = cp_img_blurred_color*255
cp_img_blurred_color_int = cp_img_blurred_color.astype("u1")
print(cp_img_blurred_color_int.__cuda_array_interface__)
{'shape': (475, 640, 3), 'typestr': '<f4', 'descr': [('', '<f4')], 'stream': 1, 'version': 3, 'strides': None, 'data': (140396092981248, False)}
{'shape': (475, 640, 3), 'typestr': '|u1', 'descr': [('', '|u1')], 'stream': 1, 'version': 3, 'strides': None, 'data': (140396086689792, False)}
传递给 nvImageCodec
[12]:
nv_img = nvimgcodec.as_image(cp_img_blurred_color_int)
[13]:
encoder.write("blurred.jpg", nv_img)
使用 OpenCV 读回以验证
[14]:
import cv2
image = cv2.imread("blurred.jpg")
image = cv2.cvtColor(image, cv2.COLOR_BGR2RGB)
plt.imshow(image)
[14]:
<matplotlib.image.AxesImage at 0x7fb08c199ee0>