nvImageCodec 示例#
[1]:
import os
import cv2
import numpy as np
from matplotlib import pyplot as plt
设置资源文件夹
[2]:
resources_dir = os.getenv("PYNVIMGCODEC_EXAMPLES_RESOURCES_DIR", "../assets/images/")
导入 nvImageCodec 模块并创建 Decoder 和 Encoder
[3]:
from nvidia import nvimgcodec
decoder = nvimgcodec.Decoder()
encoder = nvimgcodec.Encoder()
使用 nvImageCodec 加载和解码 Jpeg 图像
[4]:
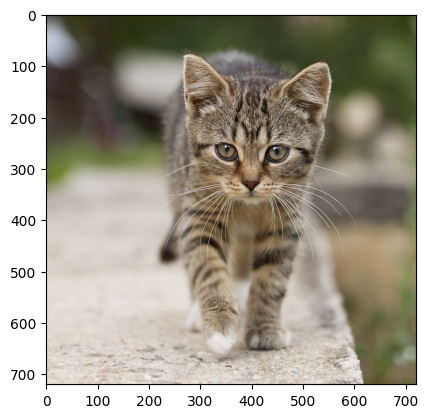
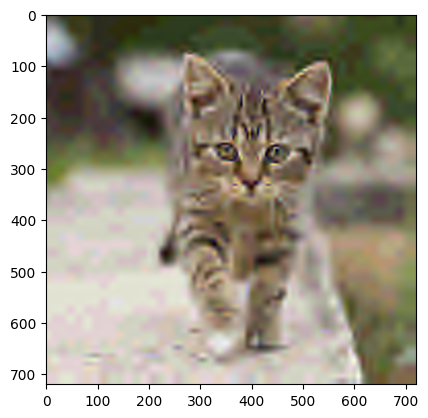
with open(resources_dir + "tabby_tiger_cat.jpg", 'rb') as in_file:
    data = in_file.read()
    nv_img_cat = decoder.decode(data)
使用 nvImageCodec 将图像保存为 bmp 文件
[5]:
with open("cat-jpg-o.bmp", 'wb') as out_file:
    data = encoder.encode(nv_img_cat, "bmp")
    out_file.write(data)
使用 OpenCV 读取刚刚保存的 (使用 nvImageCodec) bmp 图像
[6]:
cv_img_bmp = cv2.imread("cat-jpg-o.bmp")
cv_img_bmp = cv2.cvtColor(cv_img_bmp, cv2.COLOR_BGR2RGB)
plt.imshow(cv_img_bmp)
[6]:
<matplotlib.image.AxesImage at 0x7f92af632810>

使用 nvImageCodec 在一个读取函数中加载和解码 Jpeg2000 (在 jp2 容器中) 图像
[7]:
nv_img = decoder.read(resources_dir + "cat-1046544_640.jp2")
使用 nvImageCodec 在一个写入函数中将图像保存为 jpg 文件
[8]:
encoder.write("cat-jp2-o.jpg", nv_img)
使用 OpenCV 读取刚刚保存的 (使用 nvImageCodec) bmp 图像
[9]:
image = cv2.imread("cat-jp2-o.jpg")
image = cv2.cvtColor(image, cv2.COLOR_BGR2RGB)
plt.imshow(image)
[9]:
<matplotlib.image.AxesImage at 0x7f92af71b150>

使用 nvImageCodec 加载 jpg
[10]:
nv_img_jpg = decoder.read(resources_dir + "tabby_tiger_cat.jpg")
使用 nvImageCodec 保存为 Jpeg 2000
[11]:
encoder.write("cat-jpg-o.j2k", nv_img_jpg)
使用 OpenCV 读取刚刚保存的 (使用 nvImageCodec) j2k 图像
[12]:
image = cv2.imread("cat-jpg-o.j2k")
image = cv2.cvtColor(image, cv2.COLOR_BGR2RGB)
plt.imshow(image)
[12]:
<matplotlib.image.AxesImage at 0x7f929c417f10>
传递解码参数#
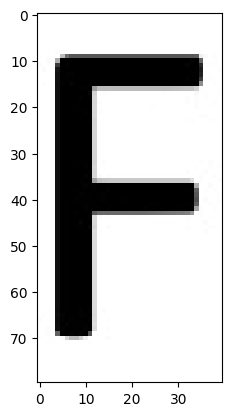
解码带有 Exif 方向的 jpeg - 默认情况下应用 exif 方向
[13]:
nv_img_jpg = decoder.read(resources_dir+ "f-exif-8.jpg")
encoder.write("f-exif-8.bmp", nv_img_jpg)
image = cv2.imread("f-exif-8.bmp")
image = cv2.cvtColor(image, cv2.COLOR_BGR2RGB)
plt.imshow(image)
[13]:
<matplotlib.image.AxesImage at 0x7f929c37b550>
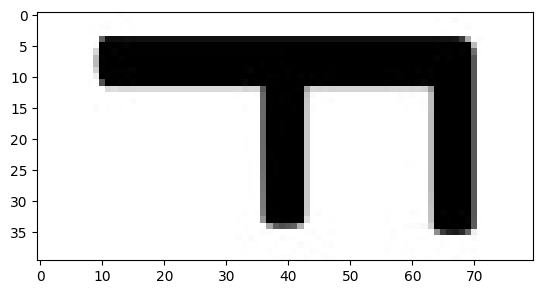
假设我们想要忽略 exif 方向
[14]:
dec_params = nvimgcodec.DecodeParams(apply_exif_orientation=False)
nv_img_jpg = decoder.read(resources_dir + "f-exif-8.jpg", dec_params)
encoder.write("f-wo-exif.bmp", nv_img_jpg)
image = cv2.imread("f-wo-exif.bmp")
image = cv2.cvtColor(image, cv2.COLOR_BGR2RGB)
plt.imshow(image)
[14]:
<matplotlib.image.AxesImage at 0x7f929c467f10>
传递编码参数#
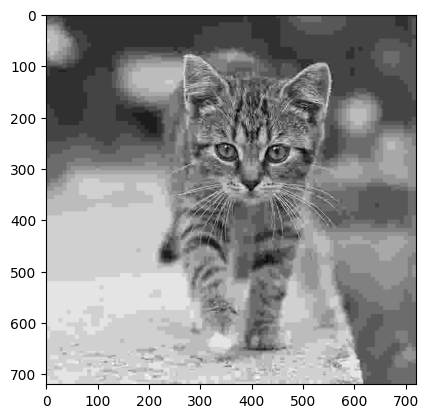
更改 jpeg 中的质量和色度二次采样
[15]:
nv_img_jpg = decoder.read(resources_dir + "tabby_tiger_cat.jpg")
enc_params = nvimgcodec.EncodeParams(quality=5, chroma_subsampling=nvimgcodec.ChromaSubsampling.CSS_GRAY)
encoder.write("cat-q5-gray.jpg", nv_img_jpg, params=enc_params)

image = cv2.imread("cat-q5-gray.jpg")
image = cv2.cvtColor(image, cv2.COLOR_BGR2RGB)
plt.imshow(image)
[15]:
<matplotlib.image.AxesImage at 0x7f929c338710>
Jpeg 优化的 huffman 和渐进式编码
[16]:
nv_img_jpg = decoder.read(resources_dir + "tabby_tiger_cat.jpg")
encoder.write("cat-q75.jpg", nv_img_jpg, params=nvimgcodec.EncodeParams(quality=75))
encoder.write("cat-q75-optimized_huffman.jpg", nv_img_jpg, params=nvimgcodec.EncodeParams(
    quality=75, jpeg_encode_params = nvimgcodec.JpegEncodeParams(optimized_huffman=True, progressive=True)))

print("default huffman file size:", os.path.getsize("cat-q75.jpg"))
print("optimized huffman file size:", os.path.getsize(
    "cat-q75-optimized_huffman.jpg"))

image = cv2.imread("cat-q75-optimized_huffman.jpg")
image = cv2.cvtColor(image, cv2.COLOR_BGR2RGB)
plt.imshow(image)
default huffman file size: 69743
optimized huffman file size: 66706
[16]:
<matplotlib.image.AxesImage at 0x7f929c1cff10>

使用 jpeg2000 编码无损和有损
[17]:
import ctypes
nv_img_jpg = decoder.read(resources_dir + "tabby_tiger_cat.jpg")

encoder.write("cat-psnr25.j2k", nv_img_jpg, params=nvimgcodec.EncodeParams(target_psnr=25))

jpeg2k_encode_params = nvimgcodec.Jpeg2kEncodeParams(reversible=True)
encoder.write("cat-lossless.j2k", nv_img_jpg, params=nvimgcodec.EncodeParams(jpeg2k_encode_params=jpeg2k_encode_params))

jpeg2k_encode_params.num_resolutions = 2
jpeg2k_encode_params.code_block_size = (32, 32)
jpeg2k_encode_params.bitstream_type = nvimgcodec.Jpeg2kBitstreamType.JP2
jpeg2k_encode_params.prog_order = nvimgcodec.Jpeg2kProgOrder.LRCP
encoder.write("cat-lossless-2decomps.j2k", nv_img_jpg, params=nvimgcodec.EncodeParams(jpeg2k_encode_params=jpeg2k_encode_params))

print("lossy file size:", os.path.getsize("cat-psnr25.j2k"))
print("lossless file size:", os.path.getsize("cat-lossless.j2k"))
print("lossless 2 decomposition levels file size:",  os.path.getsize("cat-lossless-2decomps.j2k"))
image = cv2.imread("cat-psnr25.j2k")
image = cv2.cvtColor(image, cv2.COLOR_BGR2RGB)
plt.imshow(image)
lossy file size: 2784
lossless file size: 598167
lossless 2 decomposition levels file size: 670806
[17]:
<matplotlib.image.AxesImage at 0x7f929c204d10>
我们可以指定用于解码的允许后端
[18]:
gpu_dec = nvimgcodec.Decoder(backends=[nvimgcodec.Backend(nvimgcodec.GPU_ONLY, load_hint=0.5), nvimgcodec.Backend(nvimgcodec.HYBRID_CPU_GPU)])
cpu_dec = nvimgcodec.Decoder(backend_kinds=[nvimgcodec.CPU_ONLY])
[19]:
%%time
nv_img_j2k = cpu_dec.read(resources_dir + "cat-1046544_640.jp2")
CPU times: user 81.7 ms, sys: 197 µs, total: 81.9 ms
Wall time: 81.7 ms
[20]:
%%time
nv_img_j2k = gpu_dec.read(resources_dir + "cat-1046544_640.jp2")
CPU times: user 3.61 ms, sys: 0 ns, total: 3.61 ms
Wall time: 3.04 ms
同样的方式,我们可以创建带有允许后端的 Encoder。
[21]:
gpu_enc = nvimgcodec.Encoder(backends=[nvimgcodec.Backend(nvimgcodec.GPU_ONLY, load_hint=0.5)
                             , nvimgcodec.Backend(nvimgcodec.HYBRID_CPU_GPU)])
cpu_enc = nvimgcodec.Encoder(backend_kinds=[nvimgcodec.CPU_ONLY])
[22]:
gpu_enc.write("cat_gpu_out.jpg", nv_img_j2k)
目前 jpeg 没有可用的 CPU 编码器,所以如果有 cpu_enc,我们可以写入例如 bmp
[23]:
cpu_enc.write("cat_cpu_out.bmp", nv_img_j2k)
支持 __cuda_array_interface__#
[24]:
print(nv_img_j2k.__cuda_array_interface__)
print(nv_img_j2k.shape)
{'shape': (475, 640, 3), 'strides': None, 'typestr': '|u1', 'data': (12923392000, False), 'version': 3, 'stream': 1}
(475, 640, 3)
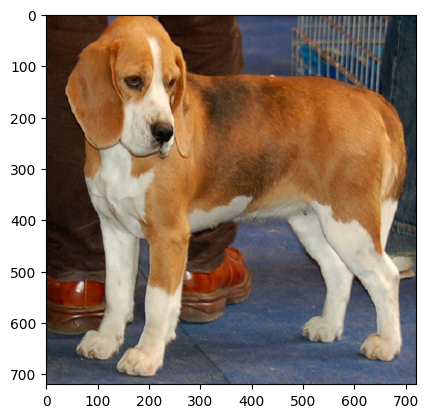
支持 __array_interface__#
可以将支持 __array_interface__ 的对象(例如 OpenCV 创建的图像 (numpy.ndarray))传递给 nvImageCodec 主机 ndarray
[25]:
cv_img = cv2.imread(resources_dir + "Weimaraner.bmp")
cv_img = cv2.cvtColor(cv_img, cv2.COLOR_BGR2RGB)

print(type(cv_img))
print(cv_img.__array_interface__)

nv_h_img = nvimgcodec.as_image(cv_img)
gpu_enc.write("Weimaraner_ai_out.jpg", nv_h_img)

image = cv2.imread("Weimaraner_ai_out.jpg")
image = cv2.cvtColor(image, cv2.COLOR_BGR2RGB)
plt.imshow(image)
<class 'numpy.ndarray'>
{'data': (105267056, False), 'strides': None, 'descr': [('', '|u1')], 'typestr': '|u1', 'shape': (720, 720, 3), 'version': 3}
[25]:
<matplotlib.image.AxesImage at 0x7f929c07ff10>
如果我们使用 Image 对象的 cpu() 方法,它将创建一个新的 Image,并将内容复制到主机缓冲区。
[26]:
nv_img = cpu_dec.read(resources_dir + "cat-1046544_640.jp2")
nv_h_img = nv_img.cpu()
带有主机缓冲区的 Image 支持 __array_interface__ (但无法返回正确的 __cuda_array_interface__)
[27]:
print(nv_h_img.__array_interface__)
print(nv_h_img.__cuda_array_interface__)
{'shape': (475, 640, 3), 'strides': None, 'typestr': '|u1', 'data': (140261734744064, False), 'version': 3}
{'shape': (475, 640, 3), 'strides': None, 'typestr': '|u1', 'data': (140261734744064, False), 'version': 3, 'stream': 1}
因此,我们可以将这样的 Image 传递给接受并可以使用此接口的函数,例如 matplotlib 库中的 imshow
[28]:
plt.imshow(nv_h_img)
[28]:
<matplotlib.image.AxesImage at 0x7f929c0d7f10>

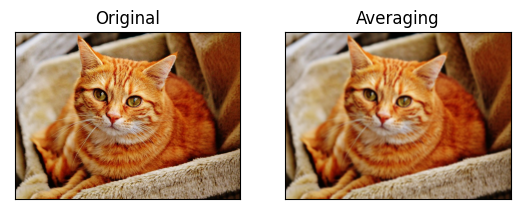
我们还可以使用 numpy 创建此图像的零拷贝视图,并使用 OpenCV 处理它
[29]:
np_img = np.asarray(nv_h_img)
kernel = np.ones((5, 5), np.float32)/25
dst = cv2.filter2D(np_img, -1, kernel)
plt.subplot(121), plt.imshow(np_img), plt.title('Original')
plt.xticks([]), plt.yticks([])
plt.subplot(122), plt.imshow(dst), plt.title('Averaging')
plt.xticks([]), plt.yticks([])
plt.show()
还有一个 cuda() 方法,可用于将带有主机缓冲区的 Image 转换为带有复制内容到设备缓冲区的 Image。
[30]:
print(nv_h_img.__cuda_array_interface__)
nv_new_cuda_img = nv_h_img.cuda()
print(nv_new_cuda_img.__cuda_array_interface__)
{'shape': (475, 640, 3), 'strides': None, 'typestr': '|u1', 'data': (140261734744064, False), 'version': 3, 'stream': 1}
{'shape': (475, 640, 3), 'strides': None, 'typestr': '|u1', 'data': (12920011776, False), 'version': 3, 'stream': 1}
我们可以通过读取 buffer_kind 属性来检查 Image 是否保留主机缓冲区或设备缓冲区
[31]:
print("Host image buffer kind: ", nv_h_img.buffer_kind)
print("Device image buffer kind: ", nv_new_cuda_img.buffer_kind)
Host image buffer kind:  ImageBufferKind.STRIDED_HOST
Device image buffer kind:  ImageBufferKind.STRIDED_DEVICE
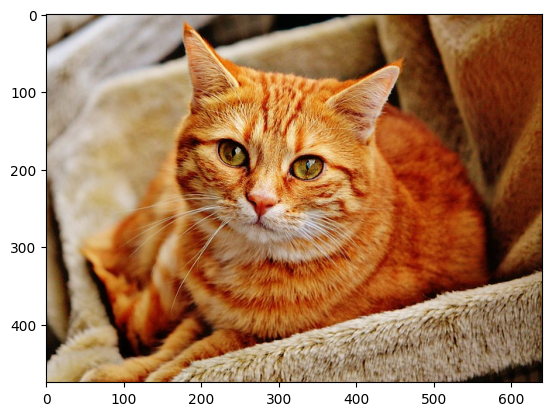
使用 “with” 语句管理解码器资源的生命周期
[32]:
with nvimgcodec.Decoder() as decoder_2:
    nv_img = decoder_2.read(resources_dir + "cat-1046544_640.jp2")
    plt.imshow(nv_img.cpu())
编码器资源也类似
[33]:
with nvimgcodec.Encoder() as encoder_2:
    encoder_2.write("cat-1046544_640_out.jpg", nv_img)
    image = cv2.imread("cat-1046544_640_out.jpg")
    image = cv2.cvtColor(image, cv2.COLOR_BGR2RGB)
    plt.imshow(image)

解析图像信息而不解码#
nvImageCodec 允许解析图像信息,而无需解码图像。为此,我们使用 CodeStream 实体
[34]:
stream = nvimgcodec.CodeStream(resources_dir + "cat-1046544_640.jp2")
print(stream)
CodeStream(codec_name=jpeg2k height=475 width=640 channels=3 dtype=uint8 precision=8 num_tiles_y=1 num_tiles_x=1 tile_height=475 tile_width=640)
[35]:
print(f"Image has dimensions {stream.height}x{stream.width}x{stream.channels} ({stream.height * stream.width * stream.channels} total number of pixels) structured in {stream.tile_height}x{stream.tile_width} tiles")
Image has dimensions 475x640x3 (912000 total number of pixels) structured in 475x640 tiles
CodeStream 对象也可以从内存中的编码流(字节或 numpy 数组)创建
[36]:
with open(resources_dir + "cat-1046544_640.jp2", 'rb') as in_file:
    data = in_file.read()
    stream = nvimgcodec.CodeStream(data)
    print(stream)
CodeStream(codec_name=jpeg2k height=475 width=640 channels=3 dtype=uint8 precision=8 num_tiles_y=1 num_tiles_x=1 tile_height=475 tile_width=640)
[ ]: