解码源和部分 (ROI) 解码#
在之前的示例中,我们展示了如何使用 nvimgcodec.Decoder.decode 和 nvimgcodec.Decoder.read API 来解码/读取图像,分别从内存中的编码流或文件路径进行解码。
[25]:
import os
import numpy as np
from matplotlib import pyplot as plt
resources_dir = os.getenv("PYNVIMGCODEC_EXAMPLES_RESOURCES_DIR", "../../resources/")
img_full_path = os.path.abspath(os.path.join(resources_dir, "jpeg2k/cat-1046544_640.jp2"))

from nvidia import nvimgcodec
decoder = nvimgcodec.Decoder()

def display(images, titles=None, figsize=(10, 4)):
    num_images = len(images)
    fig, axes = plt.subplots(1, num_images, figsize=figsize)

    if num_images == 1:
        axes = [axes]

    for i, ax in enumerate(axes):
        ax.imshow(images[i])
        if titles is not None and i < len(titles):
            ax.set_title(titles[i])
        ax.axis('off')

    plt.tight_layout()
    plt.show()
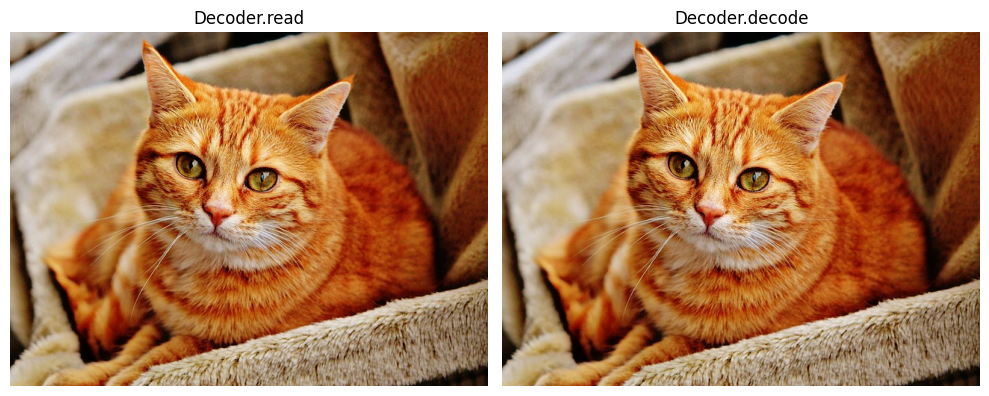
我们可以使用 read API 从文件路径读取和解码
[26]:
nv_img1 = decoder.read(img_full_path)
或者使用 decode API 从内存中的编码流解码
[27]:
with open(img_full_path, 'rb') as in_file:
    data = in_file.read()
data = nvimgcodec.DecodeSource(data)
[28]:
nv_img2 = decoder.decode(data)
[29]:
display([nv_img1.cpu(), nv_img2.cpu()], ["Decoder.read", "Decoder.decode"])
这些是与解码器 API 交互的最简单方法,当解码整个图像时,这些方法就足够了。但是,在某些情况下,部分解码或感兴趣区域 (ROI) 解码是必要的。这种方法对于处理非常大的图像(例如卫星、航空或医学图像)尤其重要,这些图像无法放入内存或在整体上处理是不切实际的。
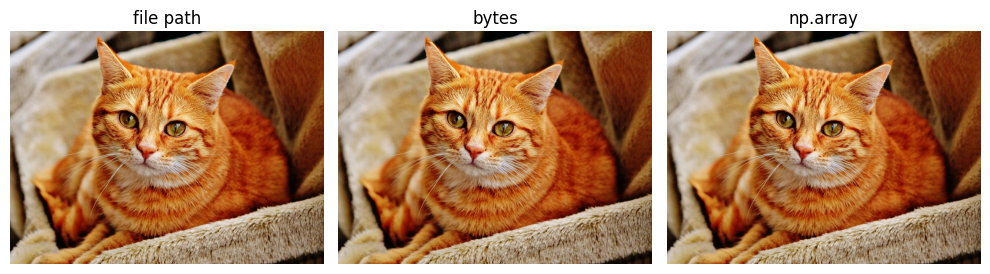
nvImageCodec 允许用户通过通用的 nvimgcodec.DecodeSource 对象为解码 API 指定 ROI。解码源对象包括编码流(可以是内存中的流或文件位置)和一个可选的感兴趣区域。以下是不指定感兴趣区域的情况下使用解码源对象的示例
[30]:
# Decode source is a file path
s1 = nvimgcodec.DecodeSource(img_full_path)
# Decode source is a `bytes` instance (in-memory)
read_bytes = open(img_full_path, 'rb').read()
s2 = nvimgcodec.DecodeSource(read_bytes)
# Decode source is a numpy array (in-memory)
np_arr = np.fromfile(img_full_path, dtype=np.uint8)
s3 = nvimgcodec.DecodeSource(np_arr)

images = [decoder.decode(s).cpu() for s in [s1, s2, s3]]
titles = ['file path', 'bytes', 'np.array']
display(images, titles)
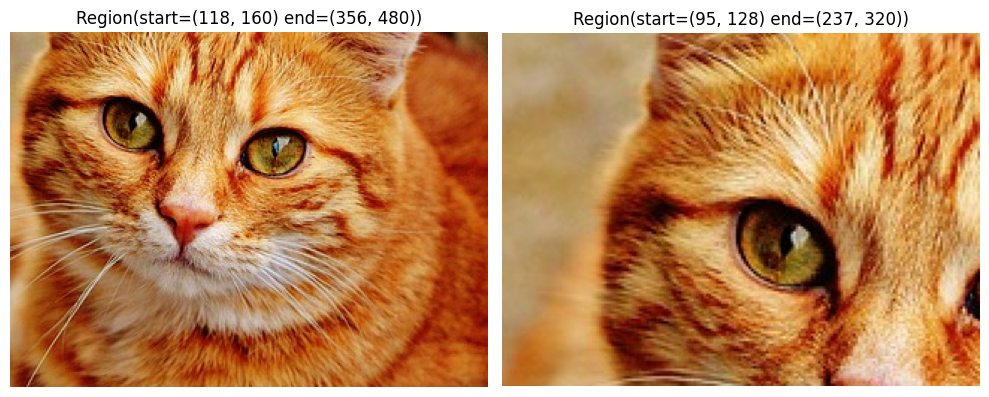
现在,我们可以展示如何为解码源位置设置感兴趣区域。为了举例说明,让我们找到图像的尺寸,以便我们可以生成有效的 ROI。
[31]:
cs = nvimgcodec.CodeStream(img_full_path)
print(cs.height, 'x', cs.width)
475 x 640
例如,让我们解码图像中心的一个窗口
[32]:
roi1 = nvimgcodec.Region(int(cs.height * 0.25), int(cs.width * 0.25), int(cs.height * 0.75), int(cs.width * 0.75))
roi2 = nvimgcodec.Region(int(cs.height * 0.2), int(cs.width * 0.2), int(cs.height * 0.5), int(cs.width * 0.5))
decode_sources = [nvimgcodec.DecodeSource(cs, roi) for roi in [roi1, roi2]]
images = [image.cpu() for image in decoder.decode(decode_sources)]
display(images, [str(roi1), str(roi2)])
奖励:利用平铺几何#
某些图像格式(如 TIFF 和 JPEG2000)允许将图像划分为单独的平铺块。当请求 ROI 时,ROI 与这些平铺块之间的对齐可能会导致解码图像的一个或多个平铺块。在此示例中,我们将演示如何查询图像的平铺几何,以使 ROI 读取模式与图像平铺边界对齐。
[33]:
img_full_path = os.path.abspath(os.path.join(resources_dir, "jpeg2k/tiled-cat-1046544_640.jp2"))
cs = nvimgcodec.CodeStream(img_full_path)
print('Image size:', cs.height, 'x', cs.width)
print('Tile size:', cs.tile_height, 'x', cs.tile_width)
Image size: 475 x 640
Tile size: 100 x 100
当处理给定的 ROI 时,解码器必须加载和解码相应的平铺块范围。如果 ROI 边界与平铺块边界不对齐,则将解码整个平铺块,从而导致部分数据被丢弃。
在我们可以确定访问模式的情况下,我们可以选择使平铺读取与图像的平铺几何对齐,从而优化资源使用。下面的示例演示了如何创建与图像平铺块匹配的 ROI 网格。
[34]:
decode_srcs = []
nytiles = (cs.height + cs.tile_height - 1) // cs.tile_height
nxtiles = (cs.width + cs.tile_width - 1) // cs.tile_width
for i in range(nytiles):
    row = []
    for j in range(nxtiles):
       start_y = i * cs.tile_height
       end_y = min([(i + 1) * cs.tile_height, cs.height])
       start_x = j * cs.tile_width
       end_x = min([(j + 1) * cs.tile_width, cs.width])
       row.append(
           nvimgcodec.DecodeSource(cs, nvimgcodec.Region(start_y, start_x, end_y, end_x))
       )
    decode_srcs.append(row)
[35]:
imgs = [img.cpu() for img in decoder.decode(decode_srcs[0][:-1])]
display(imgs, [f"(0, {i})" for i, _ in enumerate(imgs)])

[36]:
imgs = [img.cpu() for img in decoder.decode(decode_srcs[1][:-1])]
display(imgs, [f"(1, {i})" for i, _ in enumerate(imgs)])
