使用 Triton 部署模型#
任何深度学习推理服务解决方案都需要解决两个基本挑战
管理多个模型。
模型版本控制、加载和卸载。
在我们开始之前#
本概念指南旨在教育开发人员在构建用于部署深度学习管线的推理基础设施时面临的挑战。本指南的 第 1 部分 - 第 5 部分 旨在解决一个简单的问题:部署用于从图像转录文本的高性能且可扩展的管线。此管线包括 5 个步骤
预处理原始图像
检测图像的哪些部分包含文本(文本检测模型)
将图像裁剪到包含文本的区域
查找文本概率(文本识别模型)
将概率转换为实际文本
在 第 1 部分 中,我们首先在 Triton 上部署这两个模型,预处理/后处理步骤在客户端完成。
部署多个模型#
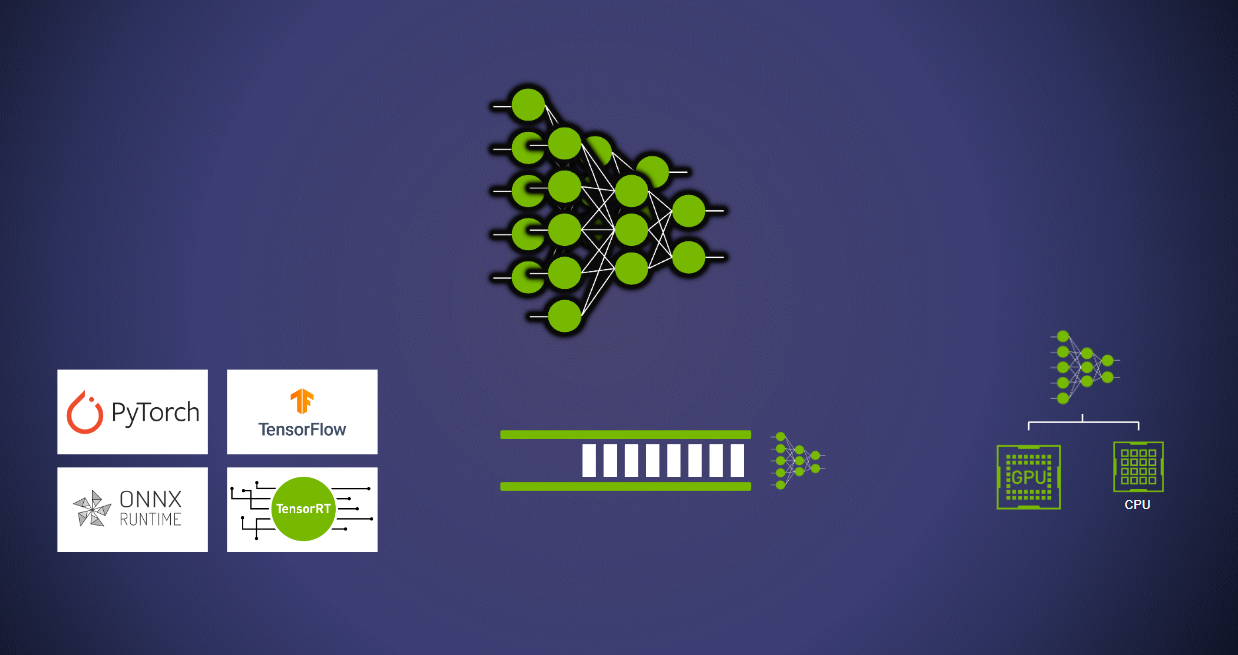
围绕管理多个模型的关键挑战是构建一个可以满足不同模型不同需求的基础设施。例如,用户可能需要在同一服务器上部署 PyTorch 模型和 TensorFlow 模型,并且这两个模型具有不同的负载,需要在不同的硬件设备上运行它们,并且需要独立管理服务配置(模型队列、版本、缓存、加速等)。Triton Inference Server 可以满足以上所有需求以及更多。
使用 Triton Inference Server 部署模型的第一步是构建一个仓库,其中包含将要服务的模型和配置模式。为了演示的目的,我们将使用 EAST 模型来检测文本和一个文本识别模型。此工作流程在很大程度上是对 OpenCV 的文本检测 示例的改编。
首先,让我们克隆仓库并导航到此文件夹。
cd Conceptual_Guide/Part_1-model_deployment
接下来,我们将下载必要的模型,并确保它们处于 Triton 可以部署的格式。
模型 1:文本检测#
下载并解压缩 OpenCV 的 EAST 模型。
wget https://www.dropbox.com/s/r2ingd0l3zt8hxs/frozen_east_text_detection.tar.gz
tar -xvf frozen_east_text_detection.tar.gz
导出到 ONNX。
注意:以下步骤需要您安装 TensorFlow 库。我们建议在 NGC TensorFlow 容器环境中执行以下步骤,您可以使用
docker run -it --gpus all -v ${PWD}:/workspace nvcr.io/nvidia/tensorflow:<yy.mm>-tf2-py3启动该环境
pip install -U tf2onnx
python -m tf2onnx.convert --input frozen_east_text_detection.pb --inputs "input_images:0" --outputs "feature_fusion/Conv_7/Sigmoid:0","feature_fusion/concat_3:0" --output detection.onnx
模型 2:文本识别#
下载文本识别模型权重。
wget https://www.dropbox.com/sh/j3xmli4di1zuv3s/AABzCC1KGbIRe2wRwa3diWKwa/None-ResNet-None-CTC.pth
使用 utils 文件夹中模型定义文件中的文件将模型导出为 .onnx。此文件改编自 Baek et. al. 2019。
注意:以下 python 脚本需要您安装 PyTorch 库。我们建议在 NGC PyTorch 容器环境中执行以下步骤,您可以使用
docker run -it --gpus all -v ${PWD}:/workspace nvcr.io/nvidia/pytorch:<yy.mm>-py3启动该环境
import torch
from utils.model import STRModel

# Create PyTorch Model Object
model = STRModel(input_channels=1, output_channels=512, num_classes=37)

# Load model weights from external file
state = torch.load("None-ResNet-None-CTC.pth")
state = {key.replace("module.", ""): value for key, value in state.items()}
model.load_state_dict(state)

# Create ONNX file by tracing model
trace_input = torch.randn(1, 1, 32, 100)
torch.onnx.export(model, trace_input, "str.onnx", verbose=True)
设置模型库#
模型库 是 Triton 读取模型以及与每个模型关联的元数据(配置、版本文件等)的方式。这些模型库可以位于本地或网络附加文件系统,或者位于云对象存储(如 AWS S3、Azure Blob Storage 或 Google Cloud Storage)中。有关模型库位置的更多详细信息,请参阅 文档。服务器也可以使用多个不同的模型库。为简单起见,此说明仅使用存储在 本地文件系统 中的单个仓库,格式如下
# Example repository structure
<model-repository>/
  <model-name>/
    [config.pbtxt]
    [<output-labels-file> ...]
    <version>/
      <model-definition-file>
    <version>/
      <model-definition-file>
    ...
  <model-name>/
    [config.pbtxt]
    [<output-labels-file> ...]
    <version>/
      <model-definition-file>
    <version>/
      <model-definition-file>
    ...
  ...
上述结构中有三个重要的组成部分需要讨论
模型名称:模型的标识名称。config.pbtxt:对于每个模型,用户可以定义模型配置。此配置至少需要定义:后端的名称、形状以及模型输入和输出的数据类型。对于大多数流行的后端,此配置文件是使用默认值自动生成的。配置文件的完整规范可以在model_configprotobuf 定义中找到。版本:版本控制使同一模型的多个版本可供使用,具体取决于选择的策略。有关版本控制的更多信息。
对于此示例,您可以按以下方式设置模型库结构
mkdir -p model_repository/text_detection/1
mv detection.onnx model_repository/text_detection/1/model.onnx

mkdir -p model_repository/text_recognition/1
mv str.onnx model_repository/text_recognition/1/model.onnx
这些命令应为您提供如下所示的仓库
# Expected folder layout
model_repository/
├── text_detection
│   ├── 1
│   │   └── model.onnx
│   └── config.pbtxt
└── text_recognition
    ├── 1
    │   └── model.onnx
    └── config.pbtxt
请注意,对于此示例,我们已经创建了 config.pbtxt 文件并将它们放置在必要的位置。在下一节中,我们将讨论这些文件的内容。
模型配置#
模型和文件结构准备就绪后,我们需要查看的下一件事是 config.pbtxt 模型配置文件。让我们首先看看为您在 /model_repository/text_detection/config.pbtxt 处提供的 EAST 文本检测 模型的模型配置。这表明 text_detection 是一个 ONNX 模型,它具有一个 input 和两个 output 张量。
name: "text_detection"
backend: "onnxruntime"
max_batch_size : 256
input [
  {
    name: "input_images:0"
    data_type: TYPE_FP32
    dims: [ -1, -1, -1, 3 ]
  }
]
output [
  {
    name: "feature_fusion/Conv_7/Sigmoid:0"
    data_type: TYPE_FP32
    dims: [ -1, -1, -1, 1 ]
  }
]
output [
  {
    name: "feature_fusion/concat_3:0"
    data_type: TYPE_FP32
    dims: [ -1, -1, -1, 5 ]
  }
]
name:“name”是一个可选字段,其值应与模型目录的名称匹配。backend:此字段指示用于运行模型的后端。Triton 支持各种后端,如 TensorFlow、PyTorch、Python、ONNX 等。有关字段选择的完整列表,请参阅 这些注释。max_batch_size:顾名思义,此字段定义了模型可以支持的最大批大小。input和output:input 和 output 部分指定名称、形状、数据类型等,同时提供诸如 重塑 和支持 ragged batches 等操作。
在大多数情况下,可以省略 input 和 output 部分,并让 Triton 直接从模型文件中提取该信息。在这里,我们包含它们是为了清晰起见,并且因为稍后在客户端应用程序中我们需要知道输出张量的名称。
有关所有支持的字段及其值的详细信息,请参阅 模型配置 protobuf 定义文件。
启动服务器#
创建仓库并配置模型后,我们就可以启动服务器了。虽然 Triton Inference Server 可以 从源代码构建,但强烈建议在此示例中使用可从 NGC 免费获得的 预构建 Docker 容器。
# Replace the yy.mm in the image name with the release year and month
# of the Triton version needed, eg. 22.08

docker run --gpus=all -it --shm-size=256m --rm -p8000:8000 -p8001:8001 -p8002:8002 -v $(pwd)/model_repository:/models nvcr.io/nvidia/tritonserver:<yy.mm>-py3
一旦 Triton Inference Server 构建完成或进入容器后,可以使用以下命令启动它
tritonserver --model-repository=/models
这将启动服务器,模型实例将准备好进行推理。
I0712 16:37:18.246487 128 server.cc:626]
+------------------+---------+--------+
| Model            | Version | Status |
+------------------+---------+--------+
| text_detection   | 1       | READY  |
| text_recognition | 1       | READY  |
+------------------+---------+--------+

I0712 16:37:18.267625 128 metrics.cc:650] Collecting metrics for GPU 0: NVIDIA GeForce RTX 3090
I0712 16:37:18.268041 128 tritonserver.cc:2159]
+----------------------------------+----------------------------------------------------------------------------------------------------------------------------------------------------------------------------------------------+
| Option                           | Value                                                                                                                                                                                        |
+----------------------------------+----------------------------------------------------------------------------------------------------------------------------------------------------------------------------------------------+
| server_id                        | triton                                                                                                                                                                                       |
| server_version                   | 2.23.0                                                                                                                                                                                       |
| server_extensions                | classification sequence model_repository model_repository(unload_dependents) schedule_policy model_configuration system_shared_memory cuda_shared_memory binary_tensor_data statistics trace |
| model_repository_path[0]         | /models                                                                                                                                                                                      |
| model_control_mode               | MODE_NONE                                                                                                                                                                                    |
| strict_model_config              | 1                                                                                                                                                                                            |
| rate_limit                       | OFF                                                                                                                                                                                          |
| pinned_memory_pool_byte_size     | 268435456                                                                                                                                                                                    |
| cuda_memory_pool_byte_size{0}    | 67108864                                                                                                                                                                                     |
| response_cache_byte_size         | 0                                                                                                                                                                                            |
| min_supported_compute_capability | 6.0                                                                                                                                                                                          |
| strict_readiness                 | 1                                                                                                                                                                                            |
| exit_timeout                     | 30                                                                                                                                                                                           |
+----------------------------------+----------------------------------------------------------------------------------------------------------------------------------------------------------------------------------------------+

I0712 16:37:18.269464 128 grpc_server.cc:4587] Started GRPCInferenceService at 0.0.0.0:8001
I0712 16:37:18.269956 128 http_server.cc:3303] Started HTTPService at 0.0.0.0:8000
I0712 16:37:18.311686 128 http_server.cc:178] Started Metrics Service at 0.0.0.0:8002
构建客户端应用程序#
现在我们的 Triton 服务器已经启动,我们可以开始向它发送消息了。有三种与 Triton Inference Server 交互的方式
HTTP(S) API
gRPC API
原生 C API
还有 客户端库 预构建在 C++、Python 和 Java 中,它们封装了 HTTP 和 gRPC API。此示例包含 client.py 中的 Python 客户端脚本,该脚本使用 tritonclient python 库通过 HTTP API 与 Triton 通信。
让我们检查一下此文件的内容
首先,我们从
tritonclient库导入我们的 HTTP 客户端,以及我们将用于处理图像的其他一些库import math import numpy as np import cv2 import tritonclient.http as httpclient
接下来,我们将定义一些辅助函数,用于处理管线的预处理和后处理步骤。为了简洁起见,此处省略了详细信息,但您可以查看
client.py文件以获取更多详细信息def detection_preprocessing(image: cv2.Mat) -> np.ndarray: ... def detection_postprocessing(scores: np.ndarray, geometry: np.ndarray, preprocessed_image: np.ndarray) -> np.ndarray: ... def recognition_postprocessing(scores: np.ndarray) -> str: ...
然后,我们创建一个客户端对象,并初始化与 Triton Inference Server 的连接。
client = httpclient.InferenceServerClient(url="localhost:8000")
现在,我们将创建
InferInput,我们将从我们的数据发送到 Triton。raw_image = cv2.imread("./img2.jpg") preprocessed_image = detection_preprocessing(raw_image) detection_input = httpclient.InferInput("input_images:0", preprocessed_image.shape, datatype="FP32") detection_input.set_data_from_numpy(preprocessed_image, binary_data=True)
最后,我们准备好向 Triton Inference Server 发送推理请求并检索响应
detection_response = client.infer(model_name="text_detection", inputs=[detection_input])
之后,我们将对文本识别模型重复该过程,执行我们的下一个处理步骤,创建输入对象,查询服务器,最后执行后处理并打印结果。
# Process responses from detection model
scores = detection_response.as_numpy('feature_fusion/Conv_7/Sigmoid:0')
geometry = detection_response.as_numpy('feature_fusion/concat_3:0')
cropped_images = detection_postprocessing(scores, geometry, preprocessed_image)

# Create input object for recognition model
recognition_input = httpclient.InferInput("input.1", cropped_images.shape, datatype="FP32")
recognition_input.set_data_from_numpy(cropped_images, binary_data=True)

# Query the server
recognition_response = client.infer(model_name="text_recognition", inputs=[recognition_input])

# Process response from recognition model
text = recognition_postprocessing(recognition_response.as_numpy('308'))

print(text)
让我们试一试!
pip install tritonclient[http] opencv-python-headless
python client.py
您可能已经注意到,仅检索第一个模型的结果以进行一些处理并将其发送回 Triton 有点多余。在本教程的 第 5 部分 中,我们将探讨如何将更多处理步骤移动到服务器并在单个网络调用中执行多个模型。
模型版本控制#
部署不同版本模型的能力对于构建 MLOps 管线至关重要。这种需求源于诸如进行 A/B 测试、轻松模型版本回滚等用例。Triton 用户可以在同一仓库中添加文件夹和新模型
model_repository/
├── text_detection
│   ├── 1
│   │   └── model.onnx
│   ├── 2
│   │   └── model.onnx
│   └── config.pbtxt
└── text_recognition
    ├── 1
    │   └── model.onnx
    └── config.pbtxt
默认情况下,Triton 服务于“最新”模型,但是服务不同模型版本的策略是可自定义的。有关更多信息,请参阅本指南。
加载和卸载模型#
Triton 具有模型管理 API,可用于控制模型加载卸载策略。当需要加载或卸载一个或多个模型而不中断在同一服务器上服务的其他模型的推理时,此 API 非常有用。用户可以从以下三种控制模式中选择一种
NONE
EXPLICIT
POLL
tritonserver --model-repository=/models --model-control-mode=poll
也可以在启动服务器时通过命令行参数设置策略。有关更多信息,请参阅文档的 本节。
下一步是什么?#
在本教程中,我们介绍了设置和查询 Triton Inference Server 的最基本知识。这是共 6 部分教程系列的第一部分,该系列涵盖了将深度学习模型部署到生产环境时面临的挑战。第 2 部分 涵盖了 并发模型执行和动态批处理。根据您的工作负载和经验,您可能想跳到 第 5 部分,其中涵盖了 使用多个模型、预处理和后处理步骤以及添加业务逻辑来构建集成管线。