高级演练:使用您自己的容器#
NVIDIA AI Workbench 为您的项目提供了一系列 默认基础容器。在某些情况下,您可能希望创建自己的自定义基础容器环境以供重用。
要创建可在 AI Workbench 项目中使用的自定义基础环境,请创建一个符合与 AI Workbench 兼容的最低要求的容器镜像。您将镜像标签应用于您的容器镜像,并将其发布到容器注册表,以便您和其他用户访问。发布容器后,您可以创建一个新项目,该项目使用您的自定义镜像作为项目环境。
在本演练中,您将设置一个简单的非默认容器,用作 AI Workbench 项目的基础环境。您将来自 NVIDIA NGC 目录 的 Morpheus 容器 (nvcr.io/nvidia/morpheus/morpheus:23.11-runtime) 用作自定义容器的基础。
在本快速入门中,您将执行以下任务
启动您的 Dockerfile#
打开一个新的空 Dockerfile,并按如下方式指定容器镜像和标签。您将在后面的步骤中看到完整的 Dockerfile。
ARG BASE_IMAGE=nvcr.io/nvidia/morpheus/morpheus:23.11-runtime

FROM ${BASE_IMAGE} as base
ARG TARGETARCH

...
在您的基础容器中安装您需要的任何系统级依赖项,例如 Git、Git LFS 和 Vim。
...

ENV SHELL=/bin/bash

# Install system level dependencies
RUN apt update \
    && apt install -yqq --no-install-recommends \
        curl \
        git \
        git-lfs \
        vim \
        python3-pip \
    && rm -rf /var/lib/apt/lists/*

...
添加您想要添加到自定义容器环境中的任何应用程序。在本示例中,您添加一个 JupyterLab IDE。
...

ENV SHELL=/bin/bash
ENV JUPYTER_PORT 8888   # Add the Jupyter Port

... # System Dependencies From Step 3

# Install jupyterlab
RUN pip install jupyterlab==4.1.2

# Disable the announcement banner
RUN /opt/conda/envs/morpheus/bin/jupyter labextension disable "@jyupyterlab/apputils-extension:announcements"

...
添加镜像标签#
您必须在 Dockerfile 中为您的容器提供镜像标签。标签是为 AI Workbench 提供有关您的容器信息的元数据。有关详细信息,请参阅 使用您自己的容器。
容器镜像标签通常分为以下几类
相当标准化,并且基本上可以复制粘贴。例如,
schema-version和jupyterlab。相当开放,并且取决于用户偏好。例如,
name和description。需要一些简单的容器内省。例如
CUDA 版本标签
# Run the container
nvidia@ai-workbench:~$ docker run --rm -ti --runtime=nvidia --gpus=all nvcr
.io/nvidia/morpheus/morpheus:23.11-runtime bash

# Inside the container, check for the CUDA version. This container supports version 11.8.
(morpheus) root@6ba686c455a2:/workspace# nvcc --version
nvcc: NVIDIA (R) Cuda compiler driver
Copyright (c) 2005-2022 NVIDIA Corporation
Built on Wed_Sep_21_10:33:58_PDT_2022
Cuda compilation tools, release 11.8, V11.8.89
Build cuda_11.8.r11.8/compiler.31833905_0
(morpheus) root@6ba686c455a2:/workspace#
包管理器标签 (apt)
# Run the container
nvidia@ai-workbench:~$ docker run --rm -ti --runtime=nvidia --gpus=all nvcr
.io/nvidia/morpheus/morpheus:23.11-runtime bash

# Check for the apt binary. It is located at /usr/bin/apt in this container.
(morpheus) root@6ba686c455a2:/workspace# which apt
/usr/bin/apt
(morpheus) root@6ba686c455a2:/workspace#
包管理器标签 (pip)
# Run the container
nvidia@ai-workbench:~$ docker run --rm -ti --runtime=nvidia --gpus=all nvcr
.io/nvidia/morpheus/morpheus:23.11-runtime bash

# Check for the pip binary. It is located at /opt/conda/envs/morpheus/bin/pip.
(morpheus) root@6ba686c455a2:/workspace# which pip
/opt/conda/envs/morpheus/bin/pip
(morpheus) root@6ba686c455a2:/workspace#
将镜像标签添加到您的 Dockerfile。
...

ARG BUILD_TIMESTAMP

# Base environment labels
LABEL com.nvidia.workbench.application.jupyterlab.class="webapp"
LABEL com.nvidia.workbench.application.jupyterlab.health-check-cmd="[ \\$(echo url=\\$(jupyter lab list | head -n 2 | tail -n 1 | cut -f1 -d' ' | grep -v 'Currently' | sed \"s@/?@/lab?@g\") | curl -o /dev/null -s -w '%{http_code}' --config -) == '200' ]"
LABEL com.nvidia.workbench.application.jupyterlab.timeout-seconds="90"
LABEL com.nvidia.workbench.application.jupyterlab.start-cmd="jupyter lab --allow-root --port $JUPYTER_PORT --ip 0.0.0.0 --no-browser --NotebookApp.base_url=\\\$PROXY_PREFIX --NotebookApp.default_url=/lab --NotebookApp.allow_origin='*'"
LABEL com.nvidia.workbench.application.jupyterlab.webapp.port="$JUPYTER_PORT"
LABEL com.nvidia.workbench.application.jupyterlab.stop-cmd="jupyter lab stop $JUPYTER_PORT"
LABEL com.nvidia.workbench.application.jupyterlab.type="jupyterlab"
LABEL com.nvidia.workbench.application.jupyterlab.webapp.url-cmd="jupyter lab list | head -n 2 | tail -n 1 | cut -f1 -d' ' | grep -v 'Currently'"
LABEL com.nvidia.workbench.application.jupyterlab.webapp.autolaunch="true"
LABEL com.nvidia.workbench.build-timestamp="${BUILD_TIMESTAMP}"
LABEL com.nvidia.workbench.cuda-version="11.8"
LABEL com.nvidia.workbench.description="A Morpheus Base with CUDA 11.8"
LABEL com.nvidia.workbench.entrypoint-script=""
LABEL com.nvidia.workbench.image-version="1.0.0"
LABEL com.nvidia.workbench.labels="cuda11.8"
LABEL com.nvidia.workbench.name="Morpheus with CUDA 11.8"
LABEL com.nvidia.workbench.os="linux"
LABEL com.nvidia.workbench.os-distro="ubuntu"
LABEL com.nvidia.workbench.os-distro-release="22.04"
LABEL com.nvidia.workbench.package-manager.apt.binary="/usr/bin/apt"
LABEL com.nvidia.workbench.package-manager.apt.installed-packages="curl git git-lfs vim"
LABEL com.nvidia.workbench.package-manager.pip.binary="/opt/conda/envs/morpheus/bin/pip"
LABEL com.nvidia.workbench.package-manager.pip.installed-packages="jupyterlab==4.1.2"
LABEL com.nvidia.workbench.programming-languages="python3"
LABEL com.nvidia.workbench.schema-version="v2"
完成的 Dockerfile#
用于使 NVIDIA Morpheus 容器与 AI Workbench 兼容的完整 Dockerfile 现在如下所示。
 1 ARG BASE_IMAGE=nvcr.io/nvidia/morpheus/morpheus:23.11-runtime
 2
 3 FROM ${BASE_IMAGE} as base
 4 ARG TARGETARCH
 5
 6 ENV SHELL=/bin/bash
 7 ENV JUPYTER_PORT 8888
 8
 9 # Install system level dependencies
10 RUN apt update \
11     && apt install -yqq --no-install-recommends \
12         curl \
13         git \
14         git-lfs \
15         vim \
16         python3-pip \
17     && rm -rf /var/lib/apt/lists/*
18
19 # Install jupyterlab
20 RUN pip install jupyterlab==4.1.2
21
22 # Disable the announcement banner
23 RUN /opt/conda/envs/morpheus/bin/jupyter labextension disable "@jyupyterlab/apputils-extension:announcements"
24
25 ARG BUILD_TIMESTAMP
26
27 # Base environemt labels
28 LABEL com.nvidia.workbench.application.jupyterlab.class="webapp"
29 LABEL com.nvidia.workbench.application.jupyterlab.health-check-cmd="[ \\$(echo url=\\$(jupyter lab list | head -n 2 | tail -n 1 | cut -f1 -d' ' | grep -v 'Currently' | sed \"s@/?@/lab?@g\") | curl -o /dev/null -s -w '%{http_code}' --config -) == '200' ]"
30 LABEL com.nvidia.workbench.application.jupyterlab.timeout-seconds="90"
31 LABEL com.nvidia.workbench.application.jupyterlab.start-cmd="jupyter lab --allow-root --port $JUPYTER_PORT --ip 0.0.0.0 --no-browser --NotebookApp.base_url=\\\$PROXY_PREFIX --NotebookApp.default_url=/lab --NotebookApp.allow_origin='*'"
32 LABEL com.nvidia.workbench.application.jupyterlab.webapp.port="$JUPYTER_PORT"
33 LABEL com.nvidia.workbench.application.jupyterlab.stop-cmd="jupyter lab stop $JUPYTER_PORT"
34 LABEL com.nvidia.workbench.application.jupyterlab.type="jupyterlab"
35 LABEL com.nvidia.workbench.application.jupyterlab.webapp.url-cmd="jupyter lab list | head -n 2 | tail -n 1 | cut -f1 -d' ' | grep -v 'Currently'"
36 LABEL com.nvidia.workbench.application.jupyterlab.webapp.autolaunch="true"
37 LABEL com.nvidia.workbench.build-timestamp="${BUILD_TIMESTAMP}"
38 LABEL com.nvidia.workbench.cuda-version="11.8"
39 LABEL com.nvidia.workbench.description="A Morpheus Base with CUDA 11.8"
40 LABEL com.nvidia.workbench.entrypoint-script=""
41 LABEL com.nvidia.workbench.image-version="1.0.0"
42 LABEL com.nvidia.workbench.labels="cuda11.8"
43 LABEL com.nvidia.workbench.name="Morpheus with CUDA 11.8"
44 LABEL com.nvidia.workbench.os="linux"
45 LABEL com.nvidia.workbench.os-distro="ubuntu"
46 LABEL com.nvidia.workbench.os-distro-release="22.04"
47 LABEL com.nvidia.workbench.package-manager.apt.binary="/usr/bin/apt"
48 LABEL com.nvidia.workbench.package-manager.apt.installed-packages="curl git git-lfs vim"
49 LABEL com.nvidia.workbench.package-manager.pip.binary="/opt/conda/envs/morpheus/bin/pip"
50 LABEL com.nvidia.workbench.package-manager.pip.installed-packages="jupyterlab==4.1.2"
51 LABEL com.nvidia.workbench.programming-languages="python3"
52 LABEL com.nvidia.workbench.schema-version="v2"
构建和发布您的容器#
使用以下步骤来构建您的容器镜像并将其发布到容器注册表。
注意
构建命令构建与您的计算机架构兼容的镜像。例如,如果您在 ARM macOS 上构建镜像,则无法在 AMD Ubuntu 计算机上使用该镜像。
运行以下命令。指定您的注册表和命名空间。您可以编辑镜像名称和标签。
cd /path/to/Dockerfile && docker build --network=host -t sample-registry.io/sample-namespace/morpheus-test-base:1.0 .
docker push sample-registry.io/sample-namespace/morpheus-test-base:1.0
复制镜像标签。在这里,我们假设您已将容器发布到私有注册表位置
nvcr.io/nvidian/morpheus-test-base:1.0。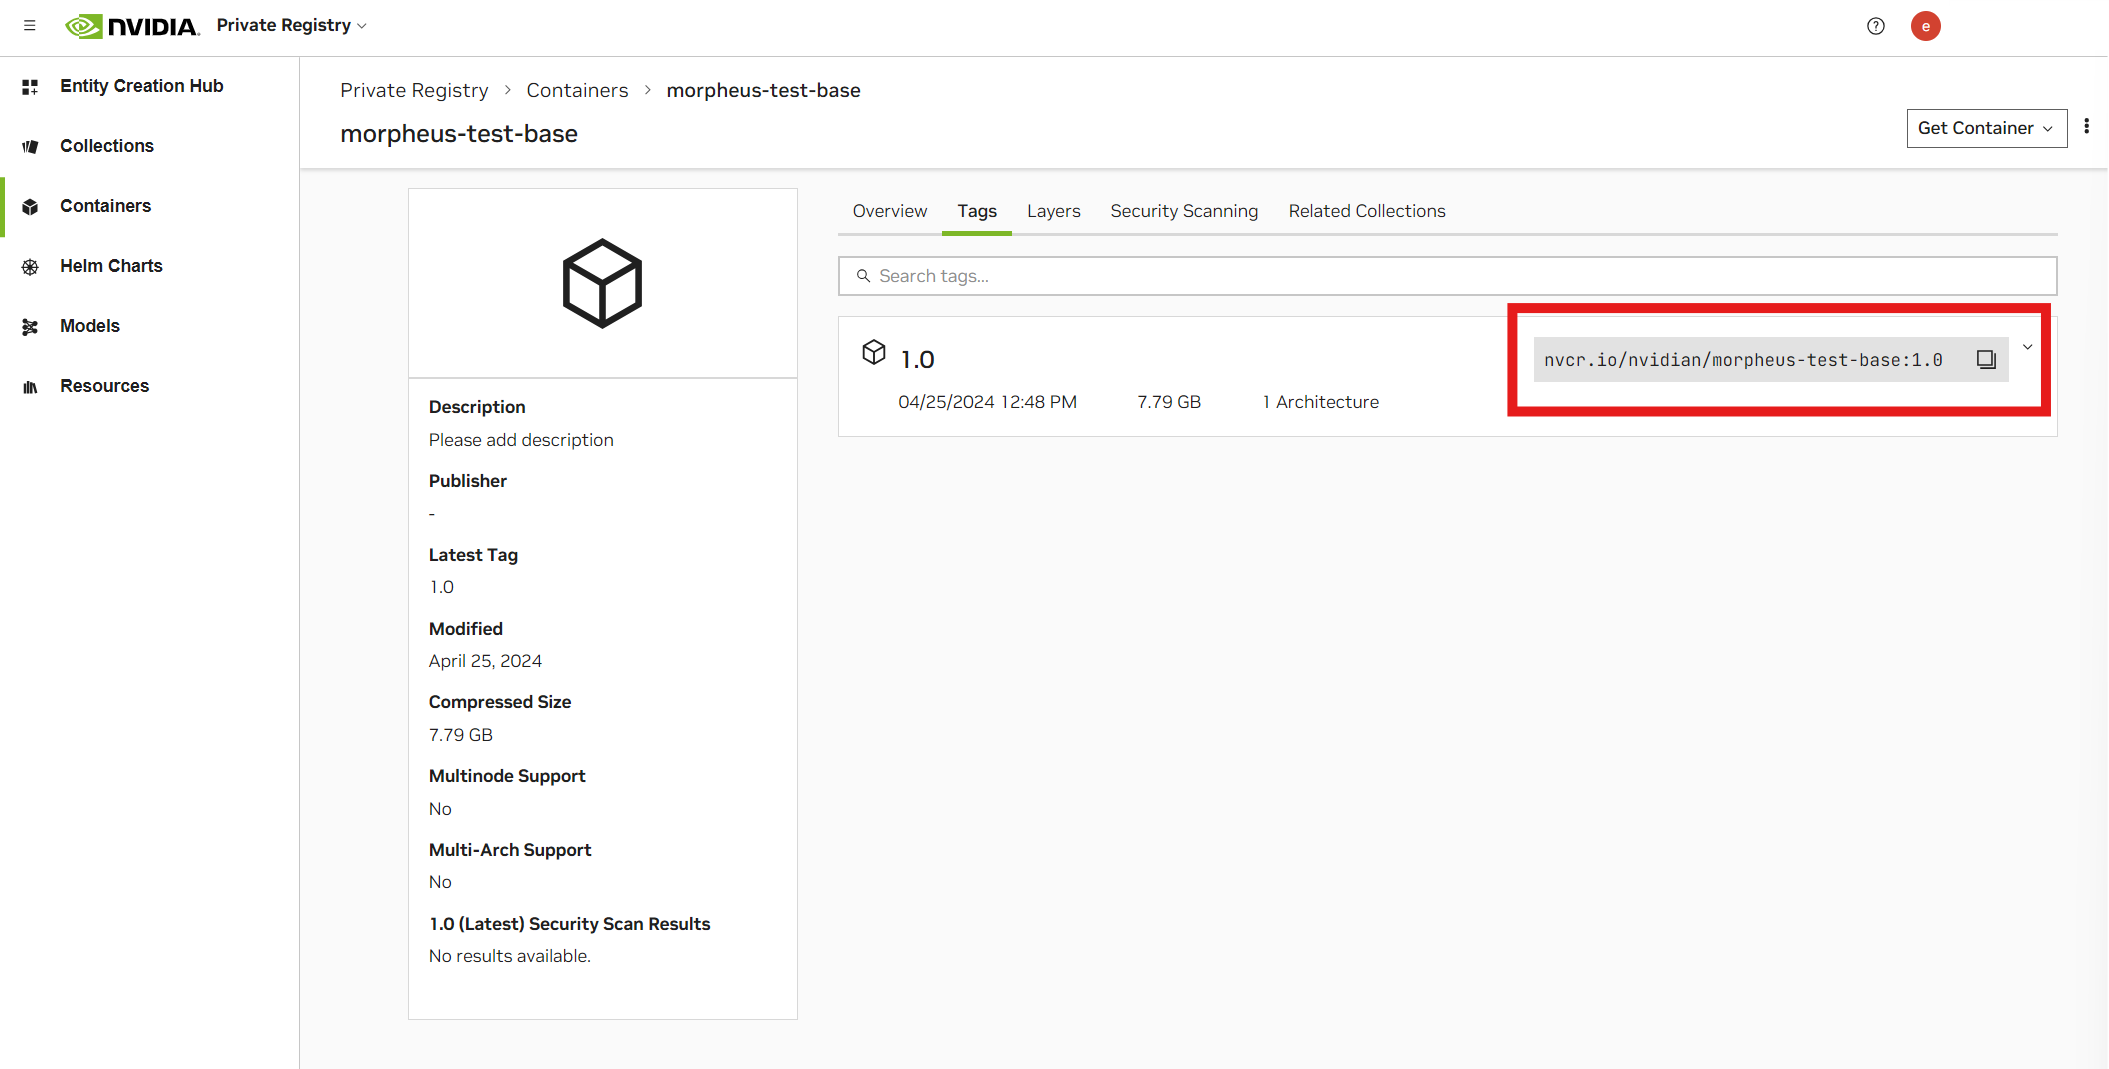
访问和使用您的容器#
在 AI Workbench 中,打开一个位置,然后单击 新建项目。
指定 名称 和 描述,然后单击 下一步。
单击 自定义容器。
输入您想要的容器注册表、镜像和标签的位置,然后单击 创建项目

AI Workbench 会自动启动容器构建过程。
容器构建过程可能需要几分钟,具体取决于您的自定义容器的大小。
如果您遇到构建错误,则可能是您的镜像标签中存在问题。编辑自动生成的
.project/spec.yaml以更正构建中的任何错误,然后将这些更改转移到 Dockerfile 的容器镜像标签,以便在所有未来使用该容器的项目中持久保存这些修复。
后续步骤#
进行另一个演练
了解如何 使用 Github 上的示例项目
浏览 NVIDIA 开发者论坛